Today’s Sweet Stockings Gift Card Holder is super quick and easy to create!

You can created 3 of these from one sheet of 8-1/2″ x 11″ cardstock, so perfect for making multiples! Here’s what the inside of the gift card holder looks like:

The gift card just slips right in, snug as a bug in a rug! Here’s how to create this gift card holder:
- Start with a 3-1/4″ x 8-1/2″ strip of cardstock (you can cut 3 from an 8-1/2″ x 11″ piece of cardstock)
- Score along the long side at 2-1/4″ and 6-1/4″ (or 2-1/4″ from each side)
- Choose which side will be the top flap (they’re both the same size) and round the corners with the Detailed Trio Punch (or corner rounder punch of your choice)
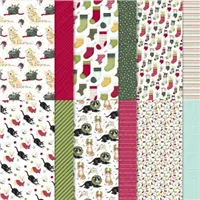
- Cut 2 pieces of Designer Series Paper to 2″ x 3″ (landscape if using a directional pattern)
- Round the bottom 2 corners on the long side of one of the pieces of Designer Series Paper
- Adhere to outside of gift card holder
- Apply Tear & Tape (or adhesive of choice) to the inside edges of the bottom flap (see picture below)
- Remove Tear & Tape backing, told up bottom flap and adhere
- Add gift card (the most important part!
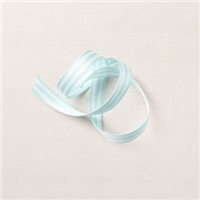
- Secure top flap with a ribbon bow or belly band – et voila!
Here’s where the Tear & Tape should be applied:

You can check out this part of my livestream from last week to see how I created this gift card holder! These are great for making pantloads of gift card holders for the holidays, teacher appreciation or craft fairs! I hope you’ll give this gift card holder a try!
Thank you so much for stopping by today! And thank you so much for all of your thoughts & prayers for our Murphy girl! SHE’S HOME!!! Bryan and I brought her from the animal hospital yesterday morning! We are so relieved she’s home and recovering from pneumonia! And she is too! Here she is finally taking a good nap in her favorite spot on the couch:

I hope you have a wonderful & blessed day! There will not be a livestream tonight, but I’ll be back on the blog tomorrow with another gift card holder for you!
PROJECT MEASUREMENTS:
- Cherry Cobbler cardstock – 3-1/4″ x 8-1/2″
- Score along the long side at 2-1/4″ and 6-1/4″ (or 2-1/4″ from each side)
- Sweet Stockings Designer Series Paper – 2″ x 3″ (2 pcs – landscape)
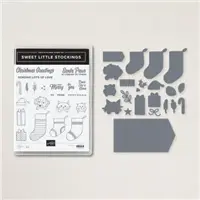
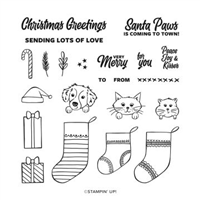
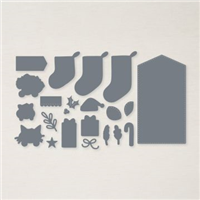
PROJECT SUPPLIES:


Have a question or comment about today’s post? I’d love to hear from you!
If you enjoyed this post, here are more ways to stay inspired:
- Join my email list and get my free Shadow Box Worksheet
- Shop with me and earn Stampin’ Rewards on orders of $20+
- Explore my project gallery for more creative ideas
Love these gift card holders! Found this on Pinterest in 2026. I used to make gift cards for my nieces and nephews away at college for Valentine’s Day. I just put a Starbucks gift card in the pouch! Thank you so much for sharing.
My son is principal for an alternative program at one of the local high schools. I help him out with treats during Teacher Appreciation Week. I made these for Starbucks gift cards. I love how they turned out and how easy they were. I’ll definitely be making more of these. Thank you!
Your little gift card holder is very easy & perfect! I’ve made several of these following your instructions. Thanks!!!
I’m so glad little Murphy is feeling better and back home for Christmas. It’s so scary when our babies (real or fur) are sick.
Have a Merry Christmas and a blessed 2022! Huggs from Florida
Omg Julie I’m so relieved that Murphy come home I was worried sick I know how you must to feel after the kitty, my kitty had pneumonia in March when I Travel to my Dad in South Carolina and I come home early because I was so worried for her so I’m glad that all our prayers fix your baby up and she is home now . Take care . And will see you tonight.
Blessings Maria Moore.♥️.
First, so happy to hear “Murphy girl” is home and recovering. I am an animal lover especially dogs, so I know what it is like to have concern over your pet. Recovery on the way! I pinned your gift card holder and will definitely be using it in the days ahead. Your instructions are as always, perfect. May you and your family have a very joy-filled and peaceful holiday with Murphy.
Blessings,
Kathy
Hi
I truly love this quick idea, but maybe I’ll add a little thumb notch in the bottom center.
Way to go Murphy! ♥
Thanks for sharing the cute, quick and easy gift card holder. Will be using this pattern for many occasions.