
Today’s project is an Origami Gift Card Holder! I originally saw this project on the Stamp & Scrapbook Expo blog. It is sized perfectly to fit a normal-sized gift card (credit card size). Here is what the inside looks like:

And here is what the little notecard that fits inside looks like:

This is such a cool, quick & easy way to dress up a gift card. You can also adapt the size of this for larger or smaller gift cards – the rule of thumb is 2X as wide and 4X as tall as the gift card. Here’s a video tutorial to show you how easy it is to make this:
Here are the measurements:
- Gift Card Holder – 7″ x 10″
- Scored along the 7″ side at 1-3/4″, 3-1/2″, and 5-1/4″
- Scored along the 10″ side at 2-1/2″, 5″, and 7-1/2″
- Inside insert – 4-7/8″ x 3-3/8″ scored at 2-7/16″ on the long side (or just folded in half)
- Inside Note Card – 2-1/4″ x 3-1/4″ (outside layer) and 2-1/8″ x 3-1/8″ (inside layer)
- Ribbon – 16″
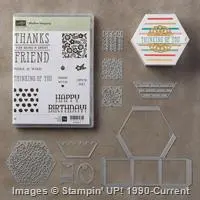
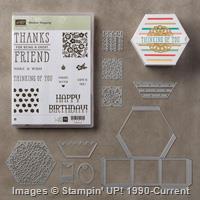
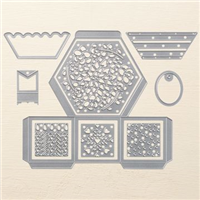
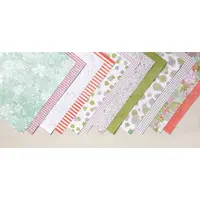
Here are the supplies I used for today’s project (click on any product to shop online):





Such a CUTE project! I know I say this every time, but I love listening to you tell me about what you’re making. A gift!