Today’s project is another version of the Mini Milk Carton Valentine that I shared earlier this week and I’ve included a video tutorial to show you how easy it is!

Here’s a front-view:

I love this project because it is so quick & easy and uses only a 3″ x 6″ piece of paper! So, you can get 8 of them from a sheet of 12″ x 12″ paper with no leftover scraps. Hello multiples! I’ve chosen to close the top of this box differently than the one I shared earlier this week, but I show you how to do it both ways in my video tutorial.
Speaking of, here’s my video tutorial:
Here’s the template:

Thank you so much for stopping by today! I hope you’ll give this project a try! I’d love to see what you make, so feel free to email me pictures or post to social media with the hashtag #paperpixie and I’ll check them out! Have a wonderful and blessed weekend!
MEASUREMENTS:
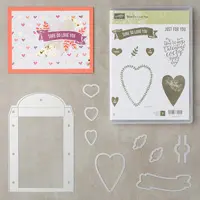
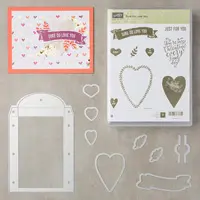
- Painted with Love Specialty DSP – 3″ x 6″
- Score along the the LONG side at 1-3/8″, 2-3/4″, 4-1/8″, and 5-1/2″
- Rotate clockwise and score along the SHORT side at 1″
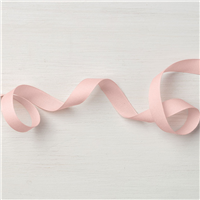
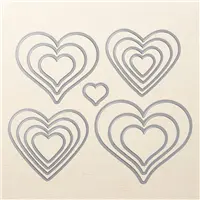
SUPPLIES (CLICK ON ANY PRODUCT TO SHOP ONLINE):


Have a question or comment about today’s post? I’d love to hear from you!
If you enjoyed this post, here are more ways to stay inspired:
- Join my email list and get my free Shadow Box Worksheet
- Shop with me and earn Stampin’ Rewards on orders of $20+
- Explore my project gallery for more creative ideas
Love this idea! Making for my coworkers. Love projects that waste no paper.
I did not have mini stapler or small hole punch, so I used a gold library clip for the closure
Adorable
Sa-weet! This is really adorable, Julie!
That is just the sweetest little box. I just love it! Thank you for the video.
Totally adorable!
So cute…you are a blessing to share these!
So cute
ADORABLE ! I CAN`T WAIT TO TRY THIS !!!!
So sweet, Julie!
Yes, there it is! Thank you, this Will be a Nice table favor at a coming workshop! Genius idea, those angel wings!
This is so cute Julie! Definitely a keeper <3
Julie,
Thank you so much for the video today. That is the cutest milk carton. I remember making a larger one, way back when, just didn’t remember how to do the measurements.
Have a blessed day also.
Marge
This little carton is so darn cute! The fact that it takes very little paper, and simple scores is a great bonus!