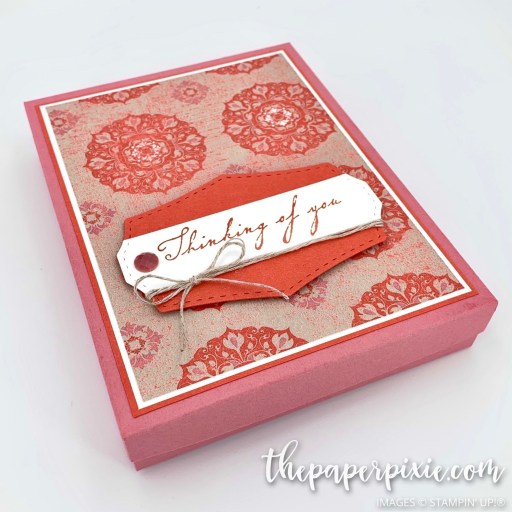
Today, I’m sharing an A2 Card Gift Box! This has been on my project list for a LONG time and I thought now would be a great time to give a set of cards to loved ones or neighbors to share the love!

Here’s a different angle:

And here’s with the lid off:

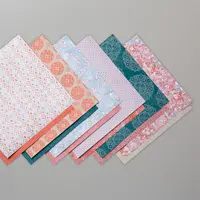
I also made this box in 2 other color-ways:
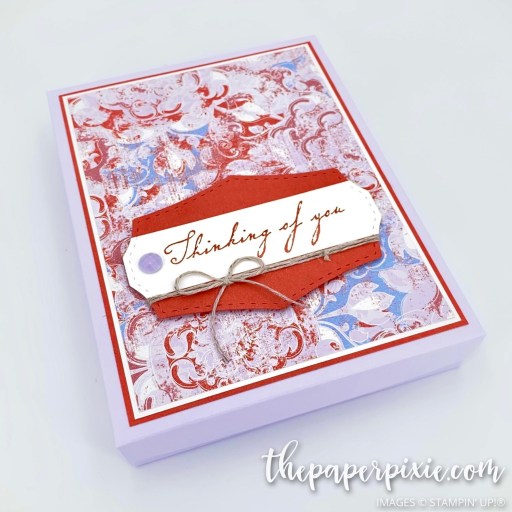
Which color-way is your favorite? Seaside Spray, Rococo Rose, or Purple Posy?
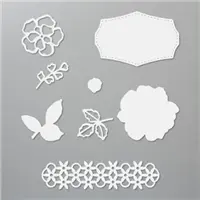
What I love about this box is how sturdy it is! I designed both the lid and the base to have reinforced sides, which make it a really classy gift! You know what else is great? The Woven Threads Designer Series Paper and Wild Rose Dies are both available for free with qualifying purchases the rest of the day today!
Without further ado, here’s my video tutorial:
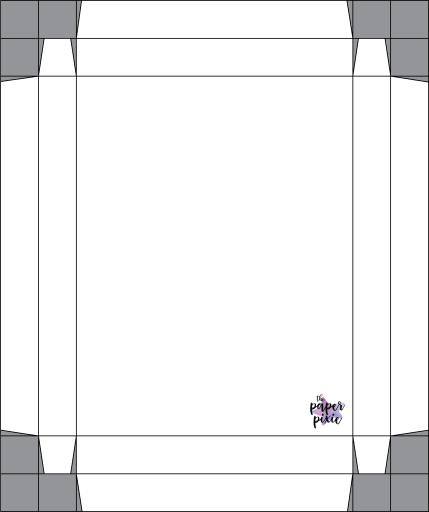
Here’s the template for the box base for reference (not to scale):

Here’s the template for the box lid for reference (not to scale):
Thank you so much for stopping by today! If you give this project a try, I’d love to see what you made! Have a wonderful & blessed day!
PROJECT MEASUREMENTS:
- Interior box dimensions – 5-7/8″H x 4-1/2″W x 1″D
- Box Base – 8-1/2″ x 9-7/8″
- Score at 1″ and 2″ on all sides
- Box Lid – 7-1/16+” x 8-7/16+”
- Score at 5/8″ and 1-1/4″ on all sides
- Cardstock/DSP layers for lid:
- 4-1/4″ x 5-5/8″
- 4-1/8″ x 5-1/2″
- 4″ x 5-3/8″
PROJECT SUPPLY LIST:


Have a question or comment about today’s post? I’d love to hear from you!
If you enjoyed this post, here are more ways to stay inspired:
- Join my email list and get my free Shadow Box Worksheet
- Shop with me and earn Stampin’ Rewards on orders of $20+
- Explore my project gallery for more creative ideas
Please edit your Project Measurements. The lid measurements are completely wrong and do not fit the box bottom. Not sure what you mean by the + in your lid measurements.
I’m so glad you enjoyed this project and gave it a try, Diana! The project measurements are correct. Have you had a chance to watch my video tutorial? The + in the lid measurements just means to go a tiny smidge past the measurements for the best fit. If it’s easier for you, you can cut the box lid to 7-1/8″ x 8-1/2″, but it will be a little loose-fitting.
I’m a couple of years getting to the paper party, but loving it! Thank you for this easy to follow, perfectly fitting little card box. I make sets of Christmas cards every year for some of our local businesses, and now I can present them in a box instead of with just a belly band. It was so easy to adjust the depth of the boxes to allow for larger quantities of cards as well.
Thank you so much, Mary! Such a great gift idea for the holidays!
Thank you for a wonderful tutorial. I’ve been struggling trying to make perfect boxes. Thank you.
Hello,
I found your website while looking for a way to make a
box for an easel calendar. Yours is perfect. Thank you
so very much for sharing.
Thank you so much, Sara! ❤️
I love this box, not only for cards, also for gift tags! Thank you!!!!
This looks fun
Thank you for this simple tutorial. I really wanted to learn how to make these boxes.
Great gift idea! Thanks
Wow, how easy you make it! Thanks for sharing
Best A2 Card box ever! The results are so professional looking. Thanks so much.
Thank you so much, Sheila!
Thank you so much for your quick response. I will give it a try and will keep the note card box for another time. Thanks again.
Linda D.
I wanted a double fold edged box for strength and knew you would come through for me. Thanks so much.
Thanks so much for sharing your box as I was gearing myself up to make some boxes when I opened my email and found your happy mail. I am in production now to make your boxes for friends who I want to give some card to. Thanks, you saved me some Brain cells and I love your reinforced boxes.
Joanie
Thank you so much… I love your instructions are so thorough. Can you assist me increasing the height? The cards I made have 3d flowers so the height of about 1.5 to 2 inches.
I really like the boxes and will make them with cards for my daughters. Thank you!
Hope you and yours are well, Julie!!
I really love your A2 Card Box! Your instructions are, as always, clear and easy to follow which makes the box quick and easy to make!! What takes time is making the cards and envelopes to fit!!
Thank you for another great box tutorial!!
Sincerely, Heidi Angelika
I really appreciate your projects and am glad to have a card box I like. Can’t wait to make some. Thank you Julie
I love this box! Having the reinforced sides just makes it so classy!! I decided I wanted the base to be a little deeper, so I increased base measurements by 1″ for each length then scored at 1.25″ and 2.5″ on each side. Perfect! Top measurements still fit the new, deeper base! Thanks for doing 99% of the ciphering for me! xo
Thanks again for your Ideas!!!! He is certainly using you!!! Thanks Have a blessed day. stay safe.
Love this box Julie. I normally do 6 cards to gift. How would I adjust the depth of the box so it wouldn’t be too deep? 🙂 Stay safe and be well Julie. TYFS
Thanks, Julie for this great tutorial on a very useful box to gift cards. My goal to daily make and send cards is going well- and it’s good mental and emotional medicine. I’m going to need to purchase more stamps (hopefully I can order them online and have them delivered to my mailbox). Stay safe and be well.
Will be making some of these great boxes, for sure! Thanks so much, Julie! Your projects and videos are THE BEST!
I just wanted to let you know how much I look forward to your great box tutorials. Your instructions are so easy to follow and every time I give one to a grandchild or friend they love them.
I hope you and your family are safe and healthy during these times. Be well.
Love these sturdy boxes! I’ve enjoyed making
Several! Thank you for designing this.