Today’s project is a Tapered Treat Box!

Here’s how the treat box opens:

What I love about this treat holder, is that there are multiple options for how to close it! For this version, I tucked the lid in. You can also close it with the tab on the outside using a Velcro dot or neodymium magnet. Here’s a photo including an alternative:

Another alternative is to use any of our Tag Topper punches as the box is 2″ wide – perfect for those punches!
This treat box measures 1-1/2″H x 2″W x 1-1/2″D, so it fits treats like a Rafaello, Lindor Truffle, Fererro Rocher (I think!), Hershey’s Nuggets, etc! I can’t wait to hear what you fit inside of it! Here’s how a Rafaello fits:

I LOVE this treat box! My inspiration comes from two German demonstrators: Andrea Schmidt and Sabine. I’ve “pixiefied” Sabine’s version.
Without further ado, here’s my video tutorial:
And here’s the template for reference (not to scale):

PROJECT MEASUREMENTS:
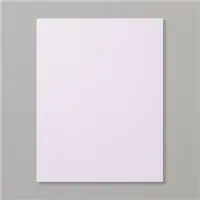
- Purple Posy cardstock – 5″ x 6-1/2″
- Score along both sides of the 5″ side at 1-1/2″
- Score along the 6-1/2″ side at 1-1/2″, 3″, 4-1/2″, and 5-1/2″
- Make tick marks on both sides of the 6-1/2″ side at 2-1/4″
- Pattern Party DSP
- 7/8″ x 1-7/8″ (1 or 2 pcs depending on closure – landscape)
- 1-3/8″ x 1-7/8″ (2pcs – landscape)
PROJECT SUPPLY LIST:
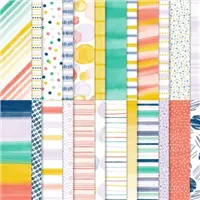
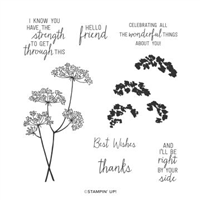
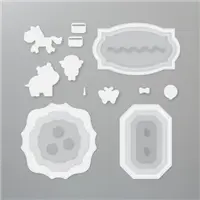
Price: $11.50
Have a question or comment about today’s post? I’d love to hear from you!
If you enjoyed this post, here are more ways to stay inspired:
- Join my email list and get my free Shadow Box Worksheet
- Shop with me and earn Stampin’ Rewards on orders of $20+
- Explore my project gallery for more creative ideas





I made your little box, I copy a lot of your boxes. I’m always amazed that you can figure out how to make them! I don’t have the Playing with Patterns DSP yet so I used some left over Sale A Bration paper, the water lilies. They looked fabulous! I give them to the gal at the coffee stand, co-workers, my hairdresser, my massage therapist, friends, & family. When I feel like I have lots of time I will make one for each member of my book club, 15. They love them. Thanks again, & keep the boxes coming.
love all your projects, could you tell me what font or set you used for the other box that the tag said For You. I couldn’t find it . thank you
Came out perfect and oh-so-easy to make. Thank you for such a darling treat box.
I love all your boxes Julie but this one is just the cutest. Love your colors. I’ll be making some of these soon.
Hi Julie. Love this box! What die did you use on one of the original samples? The one with “For You” on the front? Thanks for all you share.
Hi Barbara! I used the Stitched Nested Labels dies for the sample with the outside flap.
Love, love, love this little box! Thanks for sharing!
I have a group of 18 ladies that get together once a month for 12 hours of crafting. I always have a table favor for them. It is always one of yours!!!!! You make them easy and simple to follow and they are ALWAYS very attractive! Thank you bunches!!
Love it just made a sample. Easy to follow instructions.
What a cute little box Julie. I’m sure I can find a little something something to put in it. Be safe & TYFS
Such a darling little box! Caught the end of your live. Still need to watch the replay!
Thanks for your creativity!!!
I LOVE making 3D items. I always save your instructions and have made a lot of the different ones. Thanks for your ideas and instructions.