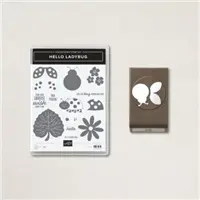
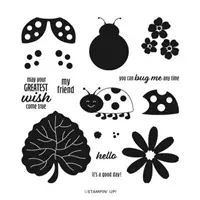
Today’s project is a Hello Ladybug Bumblebee Shadow Box featuring the Hello Ladybug Bundle and the Simply Marbleous and All Together Designer Series Papers!

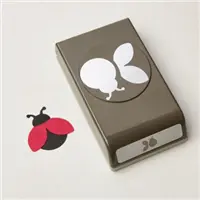
I absolutely LOVE the versatility of the Ladybug Builder Punch! I designed this shadow box to hold a Lindt Bugs & Bees chocolate – which is just perfect for the Hello Ladybug Bundle! Here’s the inside of the shadow box:

And when you remove the chocolate, it reveals a hidden sentiment:

How stinkin’ cute is that?!?! In the Lindt Bugs & Bees chocolates I found at Target, there are both ladybugs and bumblebees! Here’s another angle of the shadow box:

This would be very easy to adapt for the ladybug chocolates by just changing the cardstock and Designer Series Papers to red!
I simplified the construction of this shadow box so that it would be much easier to cut & assemble, because you won’t be able to stop at just one of these! This box has a magnetic closure, so be sure to check out the video tutorial where I show you how to hide the magnets!
I purchased my magnets from Total Element. If you use coupon code ‘PAPERPIXIE‘, you’ll receive a 10% discount!
Without further ado, here’s my video tutorial:
And here’s the template for reference (not to scale):

PLEASE NOTE: The black dot indicates where you want to add one of the magnets if you opt to do a magnetic closure.
Thank you so much for stopping by today! I hope you have a wonderful & blessed day!
PROJECT MEASUREMENTS:
- Finished Outside Dimensions – 2-3/4″H x 2-3/4″W x 2-3/4″D
- Finished Inside Dimensions – 1-1/2″H x 1-1/2″W x 5/8″D
- Bumblebee cardstock (shadow box) – 7-3/4″ x 7-3/4″
- Score on all sides at 5/8″, 1-1/4″, 1-7/8″, and 2-1/2″
- Score on 2 opposite sides down to 2nd score line at 3-1/8″ and 4-5/8″
- Basic Black cardstock (outside layer) – 2-5/8″ x 2-5/8″
- Simply Marbleous DSP – 2-1/2″ x 2-1/2″
- Basic Black cardstock (inside layer) – 1-3/8″ x 1-3/8″
- Basic White cardstock (inside layer) – 1-1/4″ x 1-1/4″
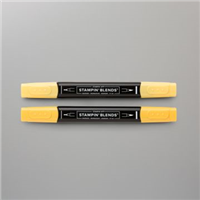
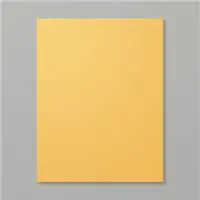
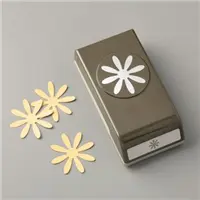
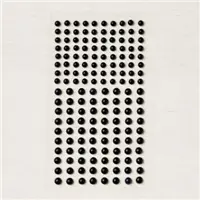
PROJECT SUPPLIES:
Have a question or comment about today’s post? I’d love to hear from you!
If you enjoyed this post, here are more ways to stay inspired:
- Join my email list and get my free Shadow Box Worksheet
- Shop with me and earn Stampin’ Rewards on orders of $20+
- Explore my project gallery for more creative ideas









Julie, this bumble bee frame is sooo cute! Thanks so much for sharing a video so we beginners can learn!!
Cant wait to make one or two or…
* I meant to add, it helps when trying to figure out which lines to cut (less fiddly cutting).
I love your demonstrations, you make them so easy to follow. One tip I would like to share, having looked at your wonderful template, is the shadow box can be made without wasting the corners. If you score at 2-1/2” on all four sides first and cut out the corners, then go back and score the rest following your instructions, the added bonus it reduces the amount of cutting.
I meant to add it reduces the amount of fiddly cutting and trying to figure out which lines to cut.
I meant to add it helps when trying to figure out which lines to cut.
o
OMG Julie!!! This project is so stinkin’ cute. I’m hoping I can find another box of bug chocolates. Thanks so much. I had so much fun playing!
I tried it with a velcro… didn’t like it. It keeps the lid looking like it’s opened. Recommended the magnet.
I had the best time making this adorable little box. I added some ribbon around the box and tucked the ends in of of the seams, placed a tiny piece for a lift open on the cover. It turned out so cute I had to make a ladybug right away. What fun and as always your video was awesome. Thank you so much.
Love this project!! I haven’t been that excited by the ladybug bundle but after seeing this project it’s a must buy! Thanks for sharing your amazing projects, you are an excellent teacher.I am just recovering from hip replacement surgery so watching your videos is the best medicine! Kind regards,
Shirley
WOW!! this is awesome 🙂
Awesome idea and gift. You have some really awesome ideas I love to follow you and see them! Thank you so much for sharing with us!!
This is so cute! Can’t wait to give it a try 🙂
Thank you so much for all the amazing projects you share. I have used many of them for classes and team meetings. So, again, thanks!