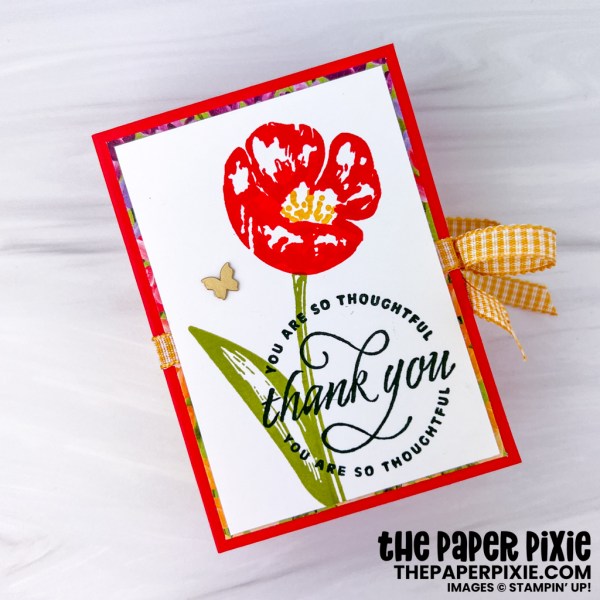
Today’s project is a PocketBac Shadow Box featuring the Flowering Tulips stamp set and Flowering Fields Designer Series Paper!
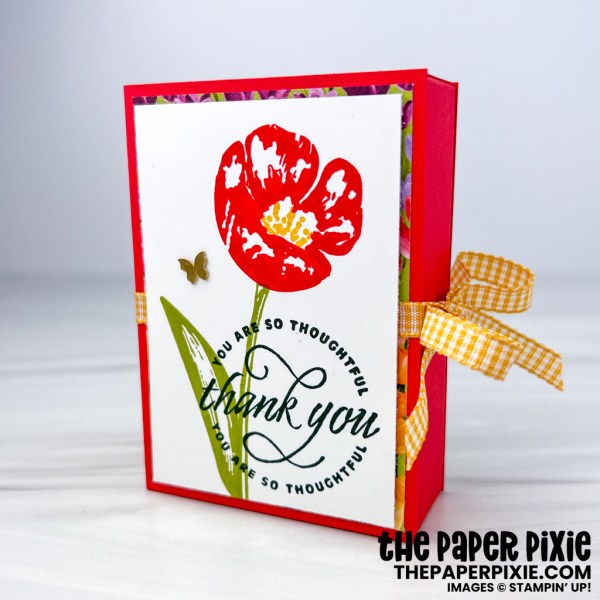
I added a book-style cover to this shadow box! Here’s what the shadow box inside looks like:
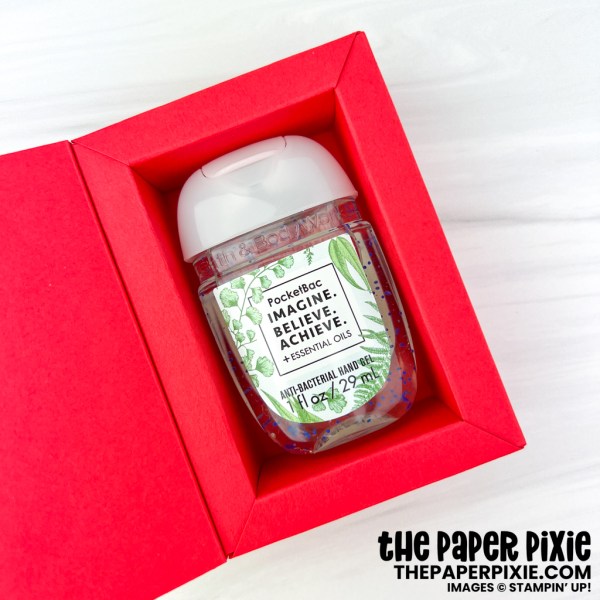
Everyone needs a little hand sanitizer these days, so this is a fun way to give a PocketBac! You can even attach a gift card using Mini Glue Dots to the inside of the cover – great teacher gift! Here’s another look:
The Brushed Brass Butterfly embellishment is the perfect finishing touch! Without further ado, here’s my video tutorial:

And here’s the template for reference (not to scale):

Thank you so much for stopping by today! I hope you have a wonderful & blessed day!
PROJECT MEASUREMENTS:
- Exterior Dimensions – 3-9/16″H x 2-9/16″W x 1-1/16″D
- Interior Shadow Box Dimensions – 2-3/4″H x 1-3/4″W x 1″D
- Poppy Parade cardstock (shadow box) – 8″ x 9″
- Score on all sides at 3/8″, 1-3/8″, 1-3/4″, 2-3/4″
- Score on short sides at 3-1/8″ and 4-7/8″ down to 2nd score line
- Score on long sides at 2-3/8″ and 6-5/8″ down to 4th score line
- Poppy Parade cardstock (cover) – 3-9/16″ x 6-3/16″
- Score on long side at 2-9/16″ from each side
- Flowering Fields Designer Series Paper:
- 2-3/8″ x 3-3/8″ (2 pcs – portrait)
- 7/8″ x 3-3/8″ (1 pc – portrait)
- Basic White cardstock – 2-1/4″ x 3-1/4″
PROJECT SUPPLIES:


Have a question or comment about today’s post? I’d love to hear from you!
If you enjoyed this post, here are more ways to stay inspired:
- Join my email list and get my free Shadow Box Worksheet
- Shop with me and earn Stampin’ Rewards on orders of $20+
- Explore my project gallery for more creative ideas
HI Julie,
I loved making these so much that I made 5, once I set all my markers on my scoring board it was a breeze. I love watching your video’s.
I love this box. Thank you so much for the instructions and video.
Can you do a you tube video on how you start to finish a shadowbox including how you figure of the size of the box?
Thank You.
Always love your videos!
Oh my gosh!! That’s right!!! Thank you for clarifying this for me, my dear.
This is such a sweet little box, it looks intimidating if you are making one for the first time but you make it so very easy with your perfect explanations, your detailed template and your fantastic video.
Thank you again for taking the time to share your amazing creativity with us.
Stay healthy and safe.
XO
Maria.
Hello Julie: I’m so happy to be able to comment on your blog today, this project is fabulous, love it.
I was wondering if you could have not covered that gorgeous DSP with the sentiment, maybe if you put a smaller sentiment the beauty of the DSP could be totally appreciated.
Thank you for sharing your amazing videos with us, I’m going to make this shadow box soon, it’s beautiful and versatile.
Please stay healthy and safe.
XO
Maria.
Hi Maria! Thank you! Both the side and the back are covered with the DSP, so the recipient can appreciate the beauty of it! ❤️
Hi Julie:
I am not new to your blog but I have never commented before. I really love the project you posted today and can’t wait to give it a shot! How wonderful of you to share instructions and your video is so helpful. Thank you for sharing.
Julie, your “Print” option is not there that I can find. I just copy and paste it to a word document
Hi Jan! The print option is available at the very bottom of the post under the “Love it? Share, save, or print it!” text. It’s the button on the far right.
Thanks!! I was looking for a way to print this as well. Much appreciated.