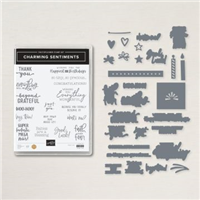
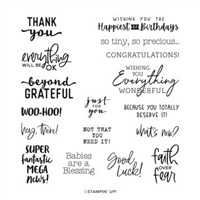
Today’s project is a Charming Sentiments Thank You card featuring the Charming Sentiments Bundle and Wonderful World Designer Series Paper!

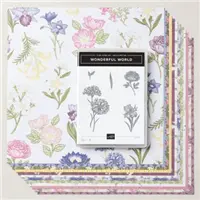
The beautiful flowers are “fussy-cut” (using my ScanNCut) from the Wonderful World Designer Series Paper – aren’t they gorgeous?! I just love this paper – and it’s free with a $100 purchase through August 31! It comes bundled with the Wonderful World stamp set.
The diagonal background is created by cutting 2 pieces of patterned paper on an angle. I like to use the Paper Trimmer to make quick work of this! Want to see me in action creating this card? Here’s my livestream replay:
Here’s a quick template for reference:

No need to measure the 1″ marks if you use your Paper Trimmer! Just line up the top right corner to 3/4″ left of the cutting groove and the bottom left corner to 3/4″ right of the cutting groove AND CUT!
QUICK TIP: Cut 2 pieces of Designer Series Paper at once! Flip the Designer Series Paper so the matching patterns are touching before cutting. Then you’ll have perfectly cut pieces ready to create 2 beautiful cards!
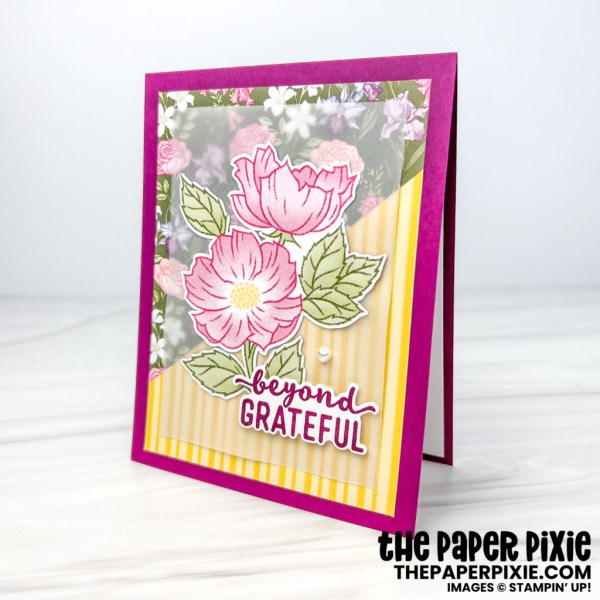
To soften the background, I added a layer of Vellum! It’s amazing how that works. The Charming Sentiments Bundle is the perfect addition to the card. The finishing touch? A Heart Pearl!
Thank you so much for stopping by today! I hope you have a wonderful & blessed day!
PROJECT MEASUREMENTS:
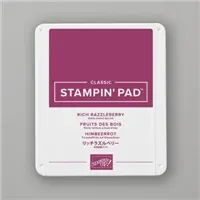
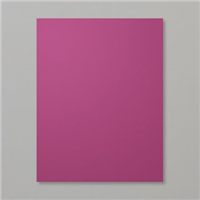
- Rich Razzleberry card base – 11″ x 4-1/4″, scored and folded in half at 5-1/2″
- Wonderful World Designer Series Paper – 5″ x 3-3/4″ (2 pcs – portrait)
- Line up top right corner to 3/4″ left of cutting groove, line up bottom left corner to 3/4″ right of cutting groove and cut!
- Vellum – 4-1/2″ x 3-1/4″
- Basic White (inside layer) – 5-1/4″ x 4″
PROJECT SUPPLIES:
Have a question or comment about today’s post? I’d love to hear from you!
If you enjoyed this post, here are more ways to stay inspired:
- Join my email list and get my free Shadow Box Worksheet
- Shop with me and earn Stampin’ Rewards on orders of $20+
- Explore my project gallery for more creative ideas




Hi Julie, fantastic video! The little boo-boos made it fun. Can’t wait for your blog which will show how to make the treat box or should I watch the video again and write down the measurements ,etc?
SO pretty. I LOVE the vellum on top of the DSP. What a fun layout! I think I’m going to have to give this a try.
Love your cards and tutorials. I have a scan n cut that is about 6 years old, will mine cut the flowers from the DSP. Any special trick in doing that?
Hi Peggy! Be sure to watch my livestream replay for the how-to! While I have a newer model ScanNCut, the steps should still be relatively the same.