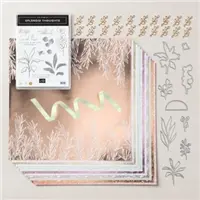
Today’s project is an Explosion Treat Holder featuring products from the Splendid Day Suite!

This is one of my favorite go-to treat holders as it requires no adhesive and is a perfect fit for some of my favorite treats to brighten someone’s day – York Peppermint Patties or Ghirardelli Squares! And all you need is a 6″ x 6″ piece of patterned paper to create one (or many)!

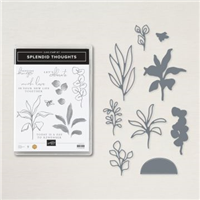
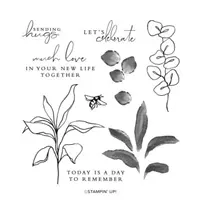
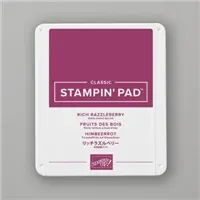
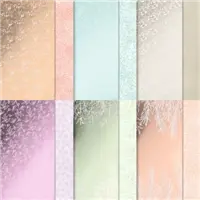
The Splendid Day Suite of products is just beautiful. The foiled paper is gorgeous to look at too! The dies in the Splendid Stems are so fun to play with. The sentiment is stamped in Rich Razzleberry, which looks beautiful next to the Fresh Freesia foil. I masked part of the sentiment to make this Explosion Treat Holder perfect for a random act of kindness!
Here’s what the Explosion Treat Holder looks like inside:

A fitting name for this treat holder, don’t you think? Your treat fits right inside the middle (you’ll see in my video tutorial). And the best part? No adhesive necessary! Just some small cuts then tuck the flap and it’s ready to go! You can also use a magnet or Velcro closure too!
I created a video tutorial a few years ago to show how easy this treat holder is to make:
Here’s the template for reference (not to scale):

A quick note… if you are using Velcro or magnets for your closure, there’s no need to add the finger notch. It’s only necessary if you are tucking in the flap.
Thank you so much for stopping by today! I hope you have a wonderful & blessed day!
PROJECT MEASUREMENTS:
- Finished Size – 2″H x 2″W x 1/2″D
- Splendid Day Specialty Designer Series Paper – 6″ x 6″
- Score along one side at 2″ and 4″ (if pattern is directional, start with pattern upside-down vertically)
- Rotate clockwise and score at 2″, 2-1/2″, 4-1/2″, and 5″
PROJECT SUPPLIES:
Price: $15.00
Have a question or comment about today’s post? I’d love to hear from you!
If you enjoyed this post, here are more ways to stay inspired:
- Join my email list and get my free Shadow Box Worksheet
- Shop with me and earn Stampin’ Rewards on orders of $20+
- Explore my project gallery for more creative ideas






Julie have you ever made one of these using 12×12–making it larger? This little one is SO cute! I wondered if it could be done to hold something larger.
Hi Marianne! This could easily be adapted for different sizes of paper! The rule of thumb for this is to divide into thirds for the first 2 score lines, so with a 12×12 you’d score at 4″ and 8″. Then you just need to decide on the depth. I recommend starting with the following score lines: 4″, 5″, 9″ and 10″ (which will give you a 1″ depth). Then you’d cut & fold the same way. Hope that helps!
I absolutely LOVED this video tutorial on the explosion treat box! It is so clever and cute! Thank you for all of your informative and beautiful designs you share with us!
Teresa
What a fun and new treat holder. How cute!!