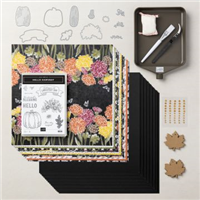
Today’s project is a self closing treat pouch featuring the Rustic Harvest Suite Collection!

This is such a fun treat pouch to create! Since it’s a self-closing treat pouch, there’s no need for the ribbon, but ribbon makes everything prettier, right? To open this treat pouch, you simply squeeze the sides:

And here’s the top-view of the pouch opened:

A handful of treats like Hershey’s Kisses, a Lindor Truffle or two, Hershey’s Nuggets would be great for the inside! Or a hand cream would work too!

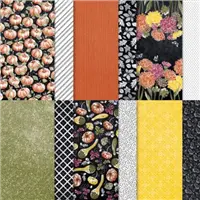
This particular pattern from the Rustic Harvest Designer Series Paper is perfect for this treat pouch! Since it only requires a 6″ x 6″ piece of paper to create, you can get 4 of these out of one sheet of 12″ x 12″ paper with this beautiful fall floral pattern.
Without further ado, here’s my live tutorial replay:
Here’s the template for reference (not to scale):

Thank you so much for stopping by today! I hope you have a wonderful & blessed day!
PROJECT MEASUREMENTS:
- Designer Series Paper – 6″ x 6″
- With directional pattern top to bottom, score at 2-3/4″ and 5-1/2″
- Rotate clockwise and score at 1-3/8″ and 5″
- Rotate clockwise again and score to first horizontal score line at 1-7/8″ and 4-5/8″
- Score diagonal lines as shown on template above
PROJECT SUPPLIES:
Have a question or comment about today’s post? I’d love to hear from you!
If you enjoyed this post, here are more ways to stay inspired:
- Join my email list and get my free Shadow Box Worksheet
- Shop with me and earn Stampin’ Rewards on orders of $20+
- Explore my project gallery for more creative ideas




Julie, your designs are always amazing and you are generous in sharing all the details. Thank you.
Thank you, Cindi!
So cute. I’m going to have to give this a try