Today’s coordinating projects feature products from the new online exclusive Flowering Zinnias Suite! I’ve created a rose salve gift box with a coordinating card to show off this beautiful suite! Don’t these colors just scream happy to you? I can’t help but smile!
This post may contain affiliate links and I may earn a small commission if you click on the links and make a purchase at no additional cost to you. As an Amazon Associate, I earn from qualifying purchases. You can read my full disclosure here.
ROSE SALVE GIFT BOX

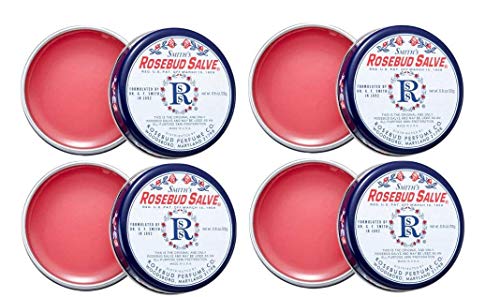
This gift box is sized to fit either a C.O. Bigelow Rose Salve or a Smith’s Rosebud Salve – they’re both the same size. I found the C.O. Bigelow Rose Salve many moons ago at Bath & Body Works and I found the Smith’s Rosebud Salve recently in a 4-pack on Amazon:

This is a great gift idea for someone you love! These salves are great for cuticles, elbows, lips, and other rough areas!
This gift box has a unique closure without using a lot of cardstock:

I added extra Designer Series Paper to the back “wall” to give this box a really nice finish. I punched two holes for a perfect ribbon bow embellishment! Here’s another angle of this cute box:

Here’s the template for reference (not to scale):

PROJECT MEASUREMENTS:
- Cardstock – 7-7/8″ x 4-1/8″
- Score along the 4-1/8″ side at 1″ on both sides
- Score along the 7-7/8″ side at 5/8″, 1-5/8″, 3-3/4″, and 4-3/4″
- Score along the 7-7/8″ side at 6-7/8″, but stop at the horizontal score line and skip scoring the middle section, flip & repeat
- Cardstock (sentiment) – 3/4″ x 2″
- Designer Series Paper:
- 2″ x 2″ (1 pc)
- 2″ x 7/8″ (3 pcs total; 1 pc – landscape, 2 pcs – portrait)
- 3″ x 2″ (2 pcs – portrait)
ZINNIAS THANK YOU CARD

For this thank you card, I just let the Designer Series Paper do the work! The zinnias are “fussy cut” from the Flowering Zinnias Designer Series Paper, and by “fussy cut” I mean I used my Brother Scan-n-Cut! The bright, bold colors of this card are made even more beautiful by adding the Basic White layers to really make it pop!

This card was so quick & easy to put together thanks to the beautiful products in the Flowering Zinnias Suite!
PROJECT MEASUREMENTS:
- Card Base – 11″ x 4-1/4″, scored and folded in half at 5-1/2″
- Basic White layer – 4-3/4″ x 3-1/2″
- Designer Series Paper layer – 4-1/2″ x 3-1/4″
- Sentiment Strip – 3/4″ x 3-1/2″
Want to check out how these projects come together? Check out the replay of my weekly live show!
Thank you so much for stopping by today! I hope you have a wonderful & blessed day!
PROJECT SUPPLIES:
Have a question or comment about today’s post? I’d love to hear from you!
If you enjoyed this post, here are more ways to stay inspired:
- Join my email list and get my free Shadow Box Worksheet
- Shop with me and earn Stampin’ Rewards on orders of $20+
- Explore my project gallery for more creative ideas
I enjoy making the boxes you make…thank you
Love it
Thanks for this great project box and card. I look forward to making.
This suite just screams cheery! You do too!
TFS and Congrats on your sales achievement!
Many Blessings to you and yours…
Love the colors.
I love this matching card is great also the link for the balm is great Thanks Julie
Beautiful, love the bright colors. Enjoy watching your tutorials, as you are patient with your instructions. Also the Q and A is so helpful. Sending hugs.
Hi Julie,
As usual, a great project for the kids (my school kids), and me of course.
I have been seeking out other projects from your web site. I hope you don’t
mind. The kids plus the kid in me really like the projects I prepare for them.
Just a note, I still haven’t gotten back to making cards, but with helping
the kids make the boxes, I have that itch to make cards again. I don’t want
to do cards yet while I volunteering for the 5th graders at my neighborhood
school. Thanks for the project.
Patsy
Love the suite! You always know how to put colors together.