
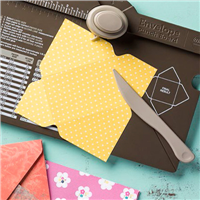
Today’s project is the Facebook Live project I demonstrated last night – a Money Envelope created using the Envelope Punch Board! If you like to watch the live video, click HERE. Otherwise, I’ve created a new video for you, because I had some technical difficulties saving the high-quality version of my Facebook live (smile). Here’s my project:

When I first set out to create this money envelope, I measured a dollar bill (and a check) and put those measurements into the Envelope Generator (there is also an app for your phone I highly suggest downloading!). The Envelope Generator told me this:

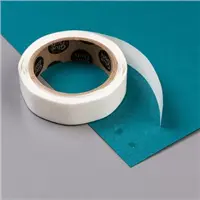
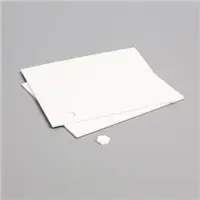
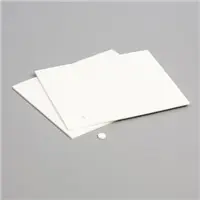
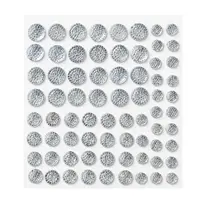
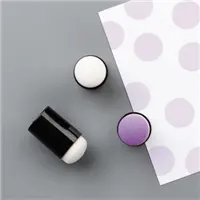
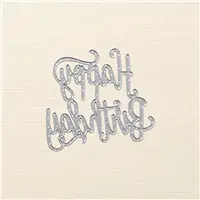
So, using those measurements, I got to work creating a perfectly-sized envelope! I added polka dots to the envelope using a Sponge Dauber and added Wink of Stella to some of those dots for some sparkle. The bow is created using the Envelope Punch Board (check out the video to see how) and it is so easy to do! I adhered the Happy Birthday Thinlits die cut using the Multipurpose Adhesive Sheets – a breeze! Without further ado, here’s my video tutorial:
NOTE: I made a slight error in the video and my Facebook Live and made my first score line at 5″. This will still work, but it creates a slightly narrower envelope, which just barely fits the Happy Birthday Thinlits die cut. If I had properly followed the Envelope Generator instructions I should have flipped the width and height measurements (corrected in the screenshot above). For a more accurate size, please make your first score line at the 2-1/2″ mark instead of 5″. And, most importantly, have fun!
Measurements:
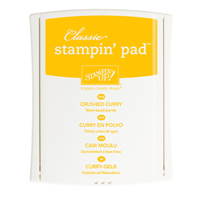
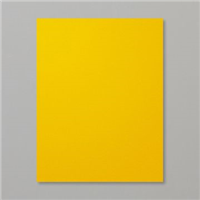
- Crushed Curry envelope base – 7-3/8″ x 7-3/8″, scored at 2-1/2″ on the Envelope Punch Board as the starting score line
- Basic Black belly band – 1-1/4″ x 6-1/2″
- Pick A Pattern Designer Series Paper for the bow – 1″ x 7″, punched at 3-1/2″ and 1-1/2 ” (on both ends) using the Envelope Punch Board

Hi! It doesn’t look like that Envelope Generator exists anymore! Any other suggestions on how to find out the measurements we would need for something of a different size?
Thanks! I’ll definitely use the one you have shown!
Robin
Such a neat idea and cute project!