
Today’s project is a pinwheel box created with the Envelope Punch Board!

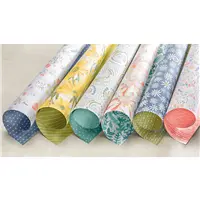
I originally saw this project on Dawn Griffith’s blog, who got the idea from Debi Pippin! This is such a fun and easy box to make and it really highlights our beautiful double-sided Designer Series Paper! This is a great project to create with the 6×6 pieces in my product shares! Here’s my video tutorial:
Thanks for stopping by today! If you liked my video, please consider subscribing to my YouTube Channel!
Measurements:
- Finished dimensions – 2-5/8″ x 2-5/8″ x 3/4″
- Designer Series Paper – 6″ x 6″
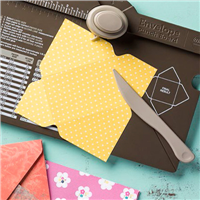
- Punch & score at 2-1/4″ and 3-1/4″ on all 4 sides on the Envelope Punch Board
- Score each flap at the 5/8″ mark (see video for more details)


I love this box but want to make one about an inch larger on the base. I tried to just add an inch to the measurements, but it didn’t give me the correct corners to make the tabs. Do you have any idea how I can enlarge this box?
Thanks!
Thanks for the great tutorial!
I love this box, and I’ve made a lot of them since I learned how from you, Julie! Thanks!!!
thanks for mentioning me. I love creating boxes your video was great!
This is such a great project!
I’m trying this as soon as I finish this comment, so cute!
This is ADORABLE! Can’t wait to try this! TFS!
A wonderful video Julie! Your directions are so easy to follow.