
First of all, I would like to wish my wonderful Dad, John Ferlito, a very Happy 70th Birthday today! He is my biggest cheerleader and I am forever grateful for his unconditional love and thoughtful wisdom and guidance all my life. Thank you, Dad! You are loved more than you know!

Now, for today’s project! I created this mini self-closing treat holder to perfectly hold a Dove Promise!

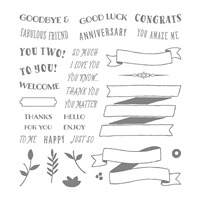
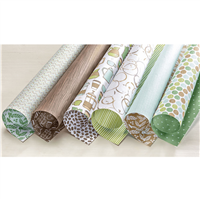
I saw this similar project shared by fellow UK demonstrator, Ann Melvin (Ann’s Happy Stampers). Her dimensions are in metric, so I converted them to inches and tweaked the measurements slightly to fit a Dove Promise! I chose to use the Coffee Break Designer Series Paper with a sweet ‘Enjoy’ sentiment from Stampin’ Up!’s Banners For You stamp set. Here’s my video tutorial:
Here’s the template I showed during the video:

I hope you like this project and will try making these sweet treat holders! If you decide to create one of these, please share on social media with the hashtag #paperpixie and I’ll keep an eye out. Thank you for stopping by!
Measurements:
- Coffee Break Designer Series Paper – 3-1/2″ x 4-1/2″, scored along the 4-1/2″ side at 2″ and 4″, and scored along the 3-1/2″ side at 1″ and 2-1/2″ (see video tutorial and template for remaining score lines)


Question, if you do not have the tag punch, what else can it be used.
Thanks. Jess.
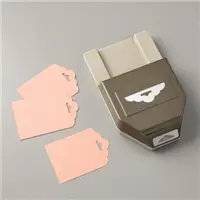
Hi Jessica! You could just round the corners with a corner rounder (you may want to trim the top a little bit) and you could punch a couple of holes and tie a ribbon through!
Any chance I could get dimensions for taller container? Not real good at different sizing. Thanks. gcwa
I love them! Thank you for sharing the diagram, it makes ir so easy to understand the construction!
Loved your post, thanks for giving the size in inches. Most of the self-closing boxes are too large. This box is perfect for a small treat.
Oh I LOVE this! I will be making these as table favors for my next card class! Thank you so much for the tutorial!!
Thanks for another great tutorial.
I am going to try several different heights.
I do believe I like the mini better than larger you did a couple years ago. Just so cute. And the diagram is a huge help for me!! Happy Birthday to your Dad! I hope he got a mailbox full of good wishes ❤
Happy birthday, Papa Pixie! Great treat holder, Julie! What fun!