
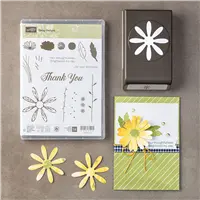
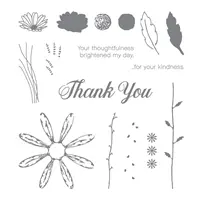
Today’s project is a Gerbera Daisy Shadowbox Card that I demonstrated on Facebook Live last night featuring the Daisy Delight Bundle!

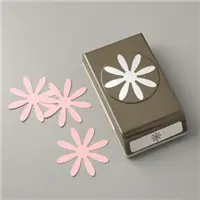
If you don’t have the Daisy Delight bundle – it’s a must-have! The Daisy Punch keeps going out of stock, it’s so popular, but it’s available right now!
I’d like to thank Laurie Meier and Jill Olson for inspiring this project! Here’s my Facebook Live video tutorial:
Thank you so much for stopping by today! I’d love to hear your thoughts on this shadowbox card. I read all of your comments and I’m so grateful for each and every one of them.
Measurements:
- Finished size – 4-1/4″ x 5-1/2″ (it’s a standard A2 size card)
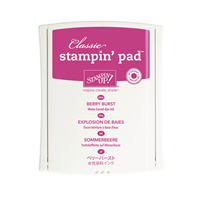
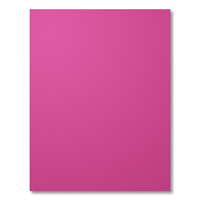
- Berry Burst card base – 4-1/4″ x 11″
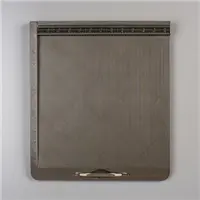
- Scored along the 11″ side at 0.5″, 1″, 4.5″, 5″, 5.5″, 6″, 6.5″, 10″, and 10.5″
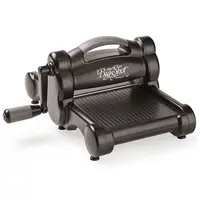
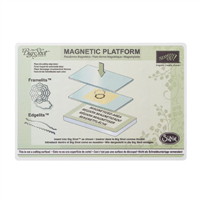




What’s the secret to curling the paper without creating a crease?
This is beautiful. It’s like a card and gift in one. I think I would go one step further
and cut a square of card stock that would fit the back, write a message and then
adhere it. You are the best demonstrator on the internet. Your directions are
so easy to follow and projects so useable. Thank you for your presentations. Lucky
are the people who live near you.
Such a beautiful project, love it! I love how the card is from a single piece of card stock, I’d thought that two pieces would’ve been adhered together. Color combo is great! Thanks for sharing! 🙂