
Today’s project is a rosebud treat holder that perfectly holds a Ferrero Rocher!

I was inspired by fellow demonstrators Hannalore Drews and Melanie Igelbrink – be sure to check them out! This is such a cool project! Here’s a different view:

Wouldn’t this be beautiful for a table favor? I can’t wait to give these out as a random act of kindness and see the smile they bring. Here’s my video tutorial:
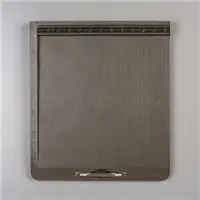
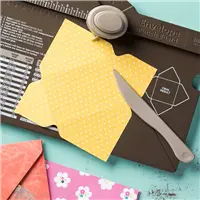
What I love about this project is that it is easy to change the size! The only parameters are (1) that you start with a square piece of cardstock and (2) you can easily divide it into fourths for scoring/cutting purposes. Here are a few examples:
- If you start with a 6″ x 6″ piece of cardstock, you’d score at the 1-1/2″ mark on all four sides, and at the 3″ mark down to the 1-1/2″ score line you just created on all four sides.
- If you start with a 4″ x 4″ piece of cardstock, you’d score at the 1″ mark on all four sides, and at the 2″ mark down to the 1″ score line you just created on all four sides.
- If you start with a 3″ x 3″ piece of cardstock, you’d score at the 3/4″ mark on all four sides, and at the 1-1/2″ mark down to the 3/4″ score line you just created on all four sides.
Thank you so much for stopping by today! I hope you have a wonderful and blessed day!
Measurements:
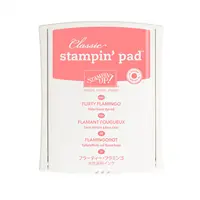
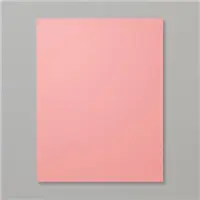
- Flirty Flamingo cardstock – 3-1/2″ x 3-1/2″, scored on all four sides at 7/8″, and scored on all four sides at 1-3/4″ only down to the 7/8″ scoreline






I loooooove this!!!! And you are an AWESOME teacher!!! Nice, clear instructions with enough detail so that I actually “get it”!!! Thank you so much for sharing this beautiful and thoughtful idea!!!!!!
Woo hoo! Love it…I will be trying this soon! Thanks for sharing.
Such a cute and “do” – able project. Thanks for translating and demonstrating so well.
This is a great video. You explain the project so well. Thanks for sharing!
Wow, that is SO cute! Thanks for sharing!
OMGoodness Julie this is just amazing. Super cute and super simple. I can’t thank you enough for making 3D papercrafting so much fun.
Warm Wishes: Mal, Melbourne, Australia
You come up with the most amazing, awesome projects!! And, your instructions are so clear and easy to follow. Thank you for sharing – brightens my day!
This is just to awesome!!! I’m going to have to try this!!
Oh my gosh! These are ADORABLE! I will be making these in assorted colors as table favors for my August class!! Thank you!!
This is the cutest!! And super simple. The best combination. Love it!