
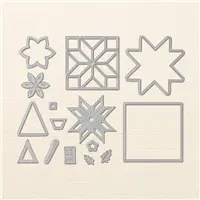
Today’s project is a set of mini cards created with the Quilt Builder Framelits that I demonstrated during my Facebook Live last night! Here’s the set of 4 cards:

Here’s the sentiment stamped on the inside in Dapper Denim:

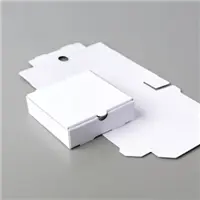
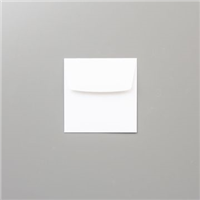
And here’s the decorated pizza box they go in along with their mini envelopes:

How fun is that?!? This is a really fun, relaxing project to put together! Like assembling mini puzzles. All you need to do is pick 5 coordinating colors (I went with the 2016-2018 In Colors) and cut them out with the Quilt Builder Framelits, then you can mix and match and have 4 mini cards plus a 5th panel to decorate the top of the pizza box!
The key to this project is the Multipurpose Adhesive Sheets! They make it so easy to assemble these little quilts. I cut 3″ x 3″ squares of cardstock and 3″ x 3″ squares of Multipurpose Adhesive sheets and stuck them together before cutting out the quilt pieces.
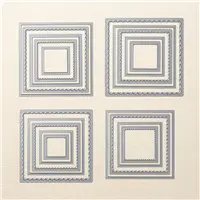
I also cut out 5 pieces of Whisper White cardstock using the square die from the Quilt Builder Framelits as my canvas to piece together the quilt. I dry-fit all the pieces together first before peeling the backing off and adhering.
QUICK TIP: Burnish your “quilts” when you finish assembling them to smooth out any die-cutting marks and ensure your adhesive sticks.
Here’s my Facebook Live video tutorial:
I hope you enjoyed this project! Come back tomorrow when I’ll share a video tutorial for the Halloween treat box I shared at my Paper Pixies team meeting. Thanks for stopping by! I hope you have a wonderful & blessed day!
Measurements:
- Thick Whisper White card base – 3″ x 6″, scored and folded at 3″ (or folded in half)
- For the quilt pieces – cut your cardstock and Multipurpose Adhesive Sheets to 3″ x 3″ before running through the Big Shot




I SOOOO love this! What a fun set of cards – beautifully showcased inside this little pizza box. LOVE!
A super project! And another wonderful video!