
Today’s project is from my Facebook Live last night – a Witch Hat Treat Holder!

My friend and team member, Mariana, gave me one of these as a swap at our Paper Pixies team meeting. I followed THIS tutorial by Julie Davison – what a fantastic quick & easy project!
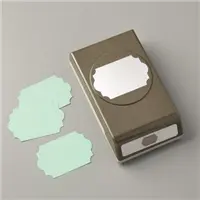
I created a belt buckle using the Everyday Label Punch by feeding the punched out piece back into the punch to create a smaller, more square punch-out (see video tutorial). This project is so quick and easy to put together you can easily make multiples! Here’s my video tutorial:
Thank you so much for stopping by today! I hope you have a wonderful and blessed day!
Measurements:
- Basic Black treat holder base – 4-1/4″ x 11″, scored at 5-1/2″
- Make tick marks at the 2-1/8″ mark along the 4-1/4″ side, both top and bottom
- Score from tick mark diagonally down to where the 5-1/2″ horizontal score line meets the edge of the cardstock (see video tutorial)
- Hat Brim – 1″ x 5-1/2″
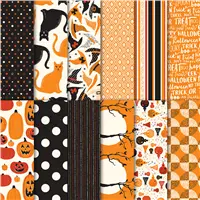
- Spooky Night DSP strip – 3/4″ x 4″
- Sentiment piece – 1″ x 1″


Julie, can’t say enough about your ever inspiring projects you post on your blog. I am loving all of them and have introduced you to my daughter , who years ago, got me addicted to Stampin Up. Presently, I am trying to find the retired list that was mentioned on today’s fabulous project, Witches Hat treat holder. What am I missing?
Cathy
This is amazing! Such a cute project. Thanks for sharing!
Oh thank you so much for that lovely box , I love it ,
Tfs
Hugs Frenchie, giving it a try , ♥️
Julie I think this project is bewitchingly adorable. I think Elphaba would be proud to hand these out to trick or treaters.
Such a great project, Julie! No picture can do it justice! It’s SO CUTE in person. Had so much fun on your FB live event last night. I love how the little black rhinestones provide a great accent to your buckle. 🙂