
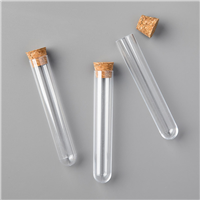
Today’s project is a double Treat Tube Holder that I shared during last night’s Facebook Live broadcast!

My project is inspired by my dear friend Jackie Beers’ project HERE. I tweaked her project slightly to fit 2 treat tubes and a larger sentiment. I also added an extra piece to keep the treat tubes from sliding around.
QUICK TIP: Place a glue dot at the bottom of each treat tube to hold them in place – it also makes the treat holder more sturdy.
How fun is this? I love the sentiment combined with the 2 treat tubes with candy of different colors. It’s very easy to assemble – another great project to make multiples of! Here’s the shortened video tutorial:
Thank you so much for stopping by today! I hope you have a wonderful & blessed day!
Measurements:
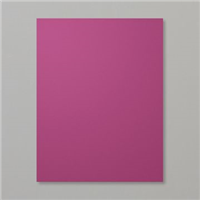
- Rich Razzleberry cardstock (2 pieces):
- 2″ x 10-1/4″ – scored at 1/2″, 1-1/2″, 4″, and 5″
- 2″ x 2″ – scored at 1/2″ and 1-1/2″
- Front Bottom Panel
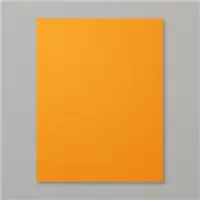
- Pumpkin Pie cardstock – 1-7/8″ x 2-3/8″
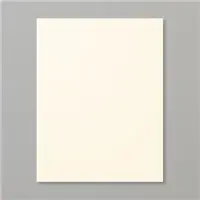
- Very Vanilla cardstock – 1-3/4″ x 2-1/4″
- Back Top Panel
- Pumpkin Pie cardstock – 1-7/8″ x 2″
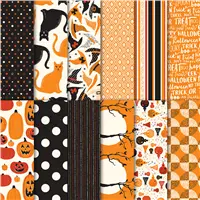
- Spooky Night DSP – 1-3/4″ x 1-7/8″
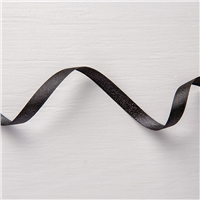
- Basic Black Shimmer Ribbon – 6″


Thank you so much, again, Julie, for a great project and tutorial.
I am making four of these for my grandkids and I am sure they will love them!!
Double fun! I love these! <3
This is super cute! As always your videos are fun and informative. Thank you for sharing!