Today’s project is a Lip Balm Box with a video tutorial!

Here’s a different view:

This is the project I demonstrated during last week’s Weekly Wednesday Facebook Live! I also previously created a Christmas version of this lip balm box HERE. I got the idea from fellow demonstrator Cindy Mitchell-Clark and decided to “pixie-fy” it to allow both ends of the box to be opened and closed.
This is a fantastic project for craft fairs, stocking stuffers, party favors, or just an adorable way to give a friend a lip balm :). These are so easy to make and you can get 2 of them out of one piece of 8-1/2″ x 11″ cardstock. Here’s my video tutorial:
Here’s the template:

I hope you’ll give this project a try! I’d love to see your creations, so if you share on social media, use the hashtag #paperpixie and I’ll check them out!
I hope you have a wonderful & blessed day!
MEASUREMENTS:
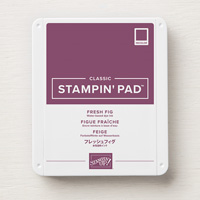
- Fresh Fig cardstock – 5″ x 7-1/4″
- Score along 5″ side at 3/8″, 1-1/8″, 3-7/8″ and 4-5/8″
- Score along 7-1/4″ side at 2-1/4″, 4-1/2″, 5-1/4″, 6″ and 6-3/4″
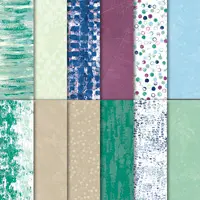
- Tranquil Textures DSP – 1-3/8″ x 2-5/8″
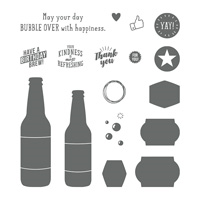
SUPPLIES (CLICK ON ANY PRODUCT TO SHOP ONLINE):


Have a question or comment about today’s post? I’d love to hear from you!
If you enjoyed this post, here are more ways to stay inspired:
- Join my email list and get my free Shadow Box Worksheet
- Shop with me and earn Stampin’ Rewards on orders of $20+
- Explore my project gallery for more creative ideas
Love this cute lip balm holder. So cute
Your directions are always so clear.
I truly enjoy your videos.
Jacque
This is a cute idea!!! Thank uou❤️
great that you have added the tabs so the box can be opened and closed again 🙂
I’ll have to add this to my “give-it-a try” file! Cute!
Really cute project Julie