Today’s project is a Candy Wrapper Box that I demonstrated during this week’s Weekly Wednesday Facebook Live!

Here’s a different view:

And here’s what I fit inside (two tea lights!):

I’d like to credit both Samantha Clayton and Dee Copus-Reed for this idea! Samantha originally shared the idea and Dee made a few minor changes to make it easier to close. I decided to change the measurements to create a shorter version sized perfectly to fit 2 tea lights or a Ferrero Rocher or any number of things!
Here’s my video tutorial:
Here’s the template:

I hope you’ll give this project a try! If you do, please share pictures with me or post to social media with the hashtag #paperpixie and I’ll check them out! Thank you so much for stopping by today! I hope you have a wonderful & blessed weekend!
MEASUREMENTS:
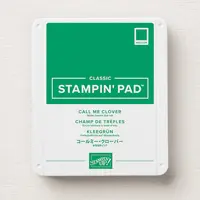
- Call Me Clover cardstock – 4-1/2″ x 6-1/2″
- Score along 4-1/2″ side at 1/2″, 1-1/2″, 3″ and 4″
- Score along 6-1/2″ side ONLY between 2nd & 3rd horizontal score lines at 1-1/2″, 3″, and 4-1/2″ and then score all the way down at 6″
- Then, along the 6-1/2″ side, score at 2-1/4″ and 5-1/4″ ONLY down to the 1st horizontal score line at both the top and bottom
- Create diagonal score lines as pictured in the template
- Then, score along the 6-1/2″ side at every 1/8″ ONLY down to the 1st horizontal score line at both the top and bottom
- Pool Party cardstock – 1-3/8″ x 1-3/8″ (4 pieces)
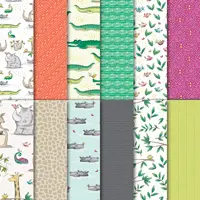
- Animal Expedition DSP – 1-1/4″ x 1-1/4″ (4 pieces)
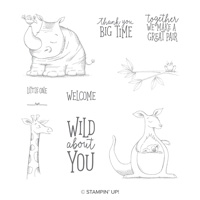
SUPPLIES (CLICK ON ANY PRODUCT TO SHOP ONLINE):


Have a question or comment about today’s post? I’d love to hear from you!
If you enjoyed this post, here are more ways to stay inspired:
- Join my email list and get my free Shadow Box Worksheet
- Shop with me and earn Stampin’ Rewards on orders of $20+
- Explore my project gallery for more creative ideas
Love this box, can’t wait to try
what a great little box… super cute!.. thanks for sharing… I also saw your die storage method … it looks really neat and efficient… I am going to try this method.. do you store your dies that match some of your stamps using this method or with the stamps? I can see advantages to doing it either way but was wondering how you do it.. thank you.
Terrific project! I am making these using the “welcome” sentiment to give our new staff members next week. I plan to fill with treats to welcome them!
Thank you for sharing. Christmas dinner table treat boxes sorted!
Such a cool shape and certainly it’s “different!” Great project; TFS!
What a great little box! Love it! Thanks for sharing! Have a great weekend!