Today’s project is another Mini Milk Carton (I shared this one previously), this one is for Halloween, with a video tutorial!

Here’s a side view:

And here’s how cute this little guy is in my hand:

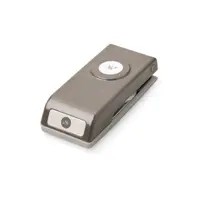
Inside is a self-inking stamp that I found at Party City – perfect for little trick-or-treaters when you don’t want to give out candy! Your friendly neighborhood dentist will thank you (wink, wink)!
Here’s my video tutorial:
Here’s the template:

Thank you so much for stopping by today! I hope you have a wonderful & blessed day!
MEASUREMENTS:
- Gorgeous Grape cardstock – 4-3/8″ x 3-1/4″
- Score along 4-3/8″ side at 1″, 2″, 3″, and 4″
- Rotate clockwise and score along 3-1/4″ at 1″, 2-1/4″, 2-7/8″
- Rotate counter-clockwise and score along 4-3/8″ side at 1-1/2″, and 3-1/2″, but only down to the first horizontal scoreline
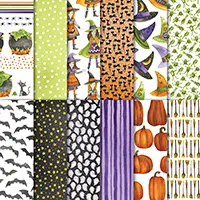
- Toil & Trouble DSP – 7/8″ x 1-1/8″ (4 pieces)
SUPPLIES (CLICK ON ANY PRODUCT TO SHOP ONLINE):


Have a question or comment about today’s post? I’d love to hear from you!
If you enjoyed this post, here are more ways to stay inspired:
- Join my email list and get my free Shadow Box Worksheet
- Shop with me and earn Stampin’ Rewards on orders of $20+
- Explore my project gallery for more creative ideas
Julie, this little treat box couldn’t be more adorable, what a great way to give a little gift to the trick or treaters.
Love the colors and the DSP is one of my favorites.
Thank you for your fabulous video my dear, it’s a joy to see you creating this wonderful projects.
Sending hugs.
Maria.