
Today’s project is a Life Savers treat box!

Here’s a closer look:

Here’s a different angle:

And here’s how it opens:

How fun is that?!? And who wouldn’t want to receive a dressed up roll of Life Savers! You could change this up for different holidays or party favors easily!
Can we just talk about how stunning the Shimmer Black Stampin’ Emboss Powder is?!? If you don’t already have it in your stash, it’s a must-have! Pictures and video just don’t do it justice, just take my word for it! You won’t regret it!
Also, you can get 3 of these out of 1 sheet of cardstock if you cut your cardstock like this:

Without further ado, here’s my video tutorial:
And here’s the template for your reference:

Thank you so much for stopping by today! I hope you have a wonderful & blessed weekend!
MEASUREMENTS:
- Finished Size – 3-3/4″ H x 7/8″ W x 7/8″ D
- Pumpkin Pie cardstock – 4″ x 6-1/2″
- Score along the 4″ side at 1/2″, 1-3/8″, 2-1/4″, and 3-1/8″
- Rotate clockwise and score along the 6-1/2″ side at 1/2″, 1-3/8″, 5-1/8″, and 6″
SUPPLIES (CLICK ON ANY PRODUCT TO SHOP ONLINE):
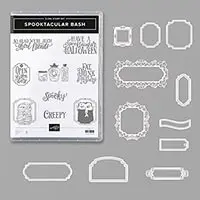
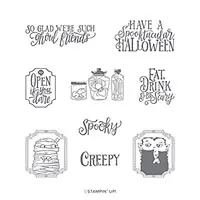
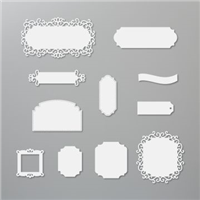
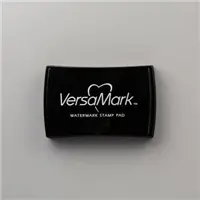

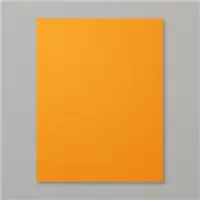
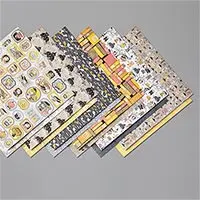

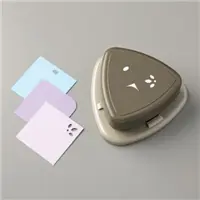


will this box hold Reeds or Royal life savers?
Hi Linda! I’m not familiar with those. Do you happen to know the measurements?
Very cute you make it look so easy thanks for sharing
Love it, Julie!
Always such a treat to play along with you & your fantastic tutorials!
Thank You & keep them coming!
Hugs,
Kim Rairdan / San Antonio TX
Lifesavers are one of my favorite candies and this little box is the sweetest way to wrap them.
Thank you for sharing the video Julie, as always, so much fun to watch.
XO
Maria.