
Today’s project is a gift box sized to fit a C.O. Bigelow Rose Salve tin featuring the Honey Bee bundle!

Here’s a closer look at the box:

Here’s what the inside of the box looks like, including a sweet sentiment:

And here’s how the flaps in the lid tuck into the box for a secure fit:

If you joined me for my Facebook Live where I originally demonstrated this project, you may notice a slight difference with the closure! I had originally designed the box for the top of the box to fit OVER the bottom of the box, but I wasn’t happy with how the sides stuck out, so I pulled out my Paper Snips and changed the design for the better! I hope you agree!
Without further ado, here’s my video tutorial:
And here’s the template for your reference:

Thank you so much for stopping by today! I’m going to be redesigning my blog over the weekend, so bear with me if things look a little wonky around here! I hope you have a wonderful & blessed weekend!
PROJECT MEASUREMENTS:
- Interior box finished dimensions – 1″H x 2-1/8″W x 2-1/8″D
- Basic Black cardstock – 4-1/8″ x 7-1/4″
- Score along the 4-1/8″ side at 1″ and 3-1/8″
- Score along the 7-1/4″ side at 1″, 3-1/8″, 4-1/8″, and 6-1/4″
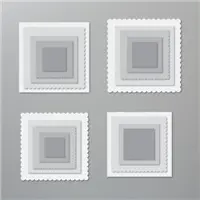
- Whisper White layering square – 5th smallest/largest (middle size)
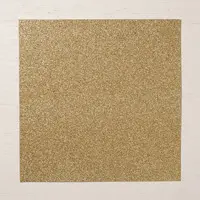
- Golden Honey DSP layering square – 5th smallest/largest (middle size)
- Gold Foil layering square – 4th largest
- Basic Black layering scalloped squares – 3rd largest
PROJECT SUPPLY LIST:
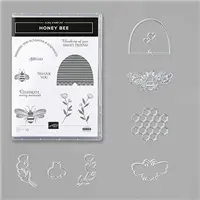
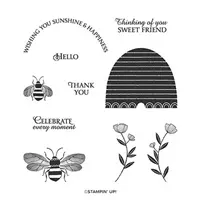
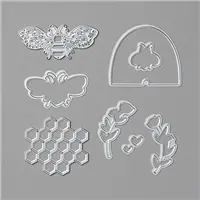




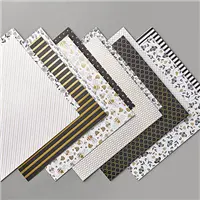

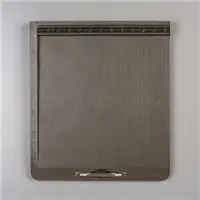
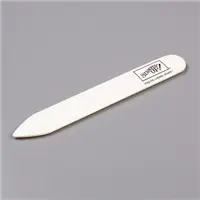

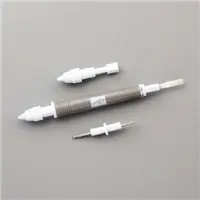


Hello!
How can I get my hands on those plastic tabbed envelopes you used for storage of the pearls
Thanks!
Hi Russell! You can find them linked on my Favorites Page here: https://thepaperpixie.com/favorites. They’re the Totally Tiffany Stamp Pockets.
Hi Julie, I love your new blog look. Very sleek! Looks great. Such a smooth transition too.
Have a blessed day.
Hej Julie,
I’ve seen no ‘wonkyness’ whatsoever. Just love your new website. Looks great!
OMG OFF THE CHARTS GORGEOUS!! thanks for sharing, julie!!
Good luck redesigning your blog!
Gorgeous little box…thanks so much for sharing so much of your creativity with you boxes and bags…love them…great tutorial and template
First let me say I love your projects and this box is so adorable! I want to make them for the mothers at my church. I do not want to put candy inside because some are diabetic so I like the idea of what you have done. However, our B&BW doesn’t carry them nor can I find it on their on-line store. I’ll search Amazon.
Your tutorials are the best! And having your template to print is an added bonus. Thanks for sharing your talents.
Such a pretty box for so many different things. Love it. Hope your husband is feeling better. Have a great weekend!
Wow! Love this little box!
Such an amazing project, Julie! Love it!
Thanks Julie this is so easy and can be used for a lot of different things. Thanks again. I’m going to order a couple of things and then until I get moved and settled in MI I probably won’t order again until then. Thanks so much
Oh my gosh!! Julie, I love that golden, shimmery Bumble Bee!!! It’s the most perfect detail to adorn this sweet little box.
Gold and Black are a beautiful and elegant color combination, they work perfectly on your gift box.
Thank you for sharing the video and template and detailed directions on how to recreate this project.
Sending hugs, my dear.
XO
Maria Rodriguez.
Hello Julie
That is a beautiful box. Thank you for sharing. I love all your projects and your instructions are always clear and easy to follow.
I think I have watched just about all of your projects.
I live in
Bonnie