
Today’s project is a double flip top box – Paper Pixie style!

Here’s a different angle:

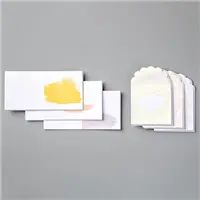
Inside it holds 12 3″ x 3″ note cards & envelopes!

Here’s the inside empty:

I added a magnetic closure to this box and love how it closes! I purchase my magnets from Total Element.
Without further ado, here’s my video tutorial:
Here’s the template for the box base for reference (not to scale):

Here’s the template for the box lid for reference (not to scale):

PROJECT MEASUREMENTS:
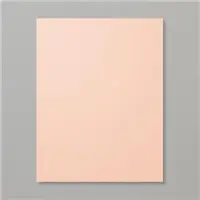
- Petal Pink cardstock (box base) – 7-1/4″ x 7-1/4″
- Score on all 4 sides at 1″ and 2″
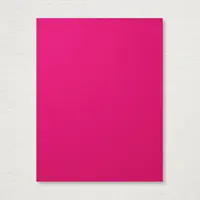
- Lovely Lipstick cardstock (box lid) – 5-7/16″ x 9-13/16″
- Score along both sides of the 5-7/16″ side at 1-1/16″
- Score along both sides of the 9-13/16″ side at 2-3/16″ and 3-1/4″
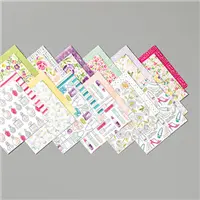
- Best Dressed DSP – 1-7/8″ x 3″ (2 pcs – portrait)
PROJECT SUPPLY LIST:
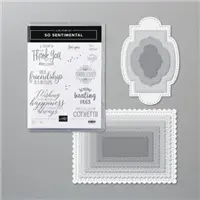
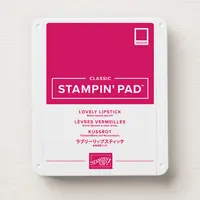

Sale: $4.00
Price: $8.00






I love your videos!
Buenas tardes por favor yo nececito unas cajas así pero las medidas son 30 cm x 30 cm x 9.5 más o menos 50 cajas a qué precio me las dejas o donde las puedo cotizar gracias .
Hi Gabriel! I’m so sorry, but I don’t do special orders. Thank you for stopping by!
That is such a cute box! Love it! So many ways to use it and it makes a really sturdy box. It has taken me 3 attempts and my box ends up a little too big, next time I think I will cut the box 7×7. Hope it will work.
I love this!! Thank you for sharing!
May I ask what the finished measurements are? I’d like to make a box that will hold a full-sized Tim Holtz/Ranger Distress Ink pad – will it fit? (I left this question on your youtube channel too, so if you respond there first, my apologies. What a perfectly wonderful box! Hints of how to resize for anything would be great – unless it’s too complicated and time consuming – since this box truly is the cat’s meow. : )
Hi Beth! The interior dimensions of this box are 3-1/4″ x 3-1/4″ x 1″. I’m not sure of the size of the Distress Ink pads.
Thank you so much! And my apologies for not indicating the pad size. They fit perfectly aka you’re my hero. : )
Buenos días:AYUDA no puedo ubicar en la tabla de dobleces las medidas de la tapa
Yo también tengo el mismo problema
Buenas tardes : en la tabla de marcar donde marco 5 7/16 ,9 13/16,disculpe no puedo marcar esas medidas.
Gracias
Hi Margarita – If you don’t have a tool with 1/16″ increments, you can try these dimensions for the lid:
Lovely Lipstick cardstock (box lid) – 5-5/8″ x 9-7/8″
– Score along both sides of the 5-5/8″ side at 1-1/8″
– Score along both sides of the 9-7/8″ side at 2-1/8″ and 3-1/4″
Best Dressed DSP – 2″ x 3-1/4″ (2 pcs – portrait)
Darling little box and your video was clearly articulated and easy to follow. Thanks so much!
Hi I love your box, but I use in cm in my crafting
could you able to Transfer into cm for me?
Thanks susy
Love this box, i will probely case it.
What size magnets did you use so I can place an order. Enjoyed your project.
Carol
Hi Carol – Here are the magnets I use: https://totalelement.com/products/1-4-x-1-32-inch-neodymium-rare-earth-disc-magnets-n48-200-pack#
I too would like to know size of magnets you used on your adorable box?s
Great box and love the magnets so
really appreciate the link for purchasing
them.
Why do not add the score lines and the cardstock in centimeters.I just give you advice,I adore your boxes but it would be a lot easier for me to have centimeters toward your projects.Thank you.
All your projects and videos are so great and very well-done. I LOVE that you have pictures of the score lines and cuts – it makes it all so much easier! Thank you!
Love this project, can hardly wait to try it out. Thanks for sharing and inspiring me to create Shirley
I enjoy your videos, especially the way you explain everything so clearly. I enjoy making different boxes and fun-fold cards. Keep up making such great videos. I am 78 years old my ministry is making cards and little note and treat boxes.. Have a blessed day.
I love this little box Julie. Will be making a few of these to hold little goodies inside……Be safe & TYFS
Watching replay as I forgot on Wednesday night. Had a meeting to attend on line. Love the box as you can put several items in it as well as note cards. Thanks for sharing.