
Today’s project tutorial is a Celebrate Sunflowers Gift Box featuring the Celebrate Sunflowers Bundle!

Here’s a closer look:

Once you slide the belly band off, here’s how the box opens:

I sized it to fit a 1-5/8oz bag of David Sunflower Seeds and then some! It’s a great size for so many things! Think theater candy, sunflower seeds and baseball tickets, candy bars and gift cards… the list goes on!
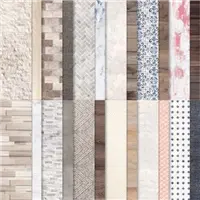
I had fun choosing different woodgrain patterns from the In Good Taste Designer Series Paper! Here’s a look at the 3 versions I’ve made so far:

I am IN LOVE with the Celebrate Sunflowers Bundle! So many different ways to make sunflowers! Without further ado, here’s my video tutorial:
Here’s the template for reference (not to scale):

Thank you so much for stopping by today! I hope you have a wonderful & blessed weekend!
PROJECT MEASUREMENTS:
- Finished Size – 3-1/2″H x 6-1/2″W x 1″D
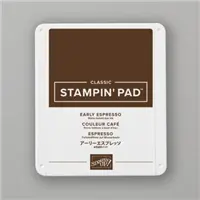
- Early Espresso cardstock (for box) – 8-1/2″ x 11″
- Score from both sides of the 8-1/2″ side at 1″
- Score along the 11″ side at 3-1/2″, 4-1/2″, 8″, and 9″
- In Good Taste Designer Series Paper
- 3-1/4″ x 6-1/4″ (2 pcs – landscape)
- 1-3/4″ x 6-1/4″ (1 pc – landscape)
- Early Espresso cardstock (belly band) – 2″ x 9-9/16″
- Score from both sides of the 9-9/16″ side at 2″ and 3″
- Very Vanilla cardstock – 3/4″ (just shy) x 3-5/8″
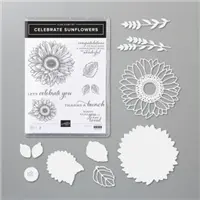
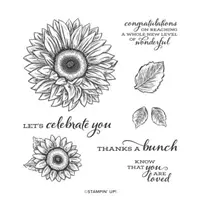
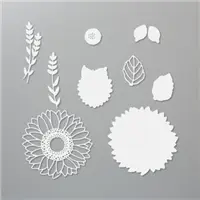
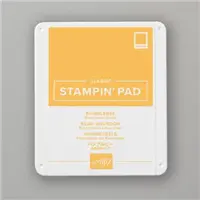
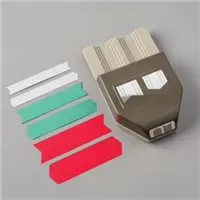
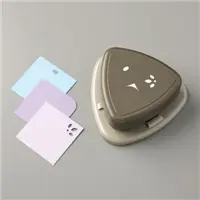
PROJECT SUPPLY LIST:










I just love your projects and the project instructions. I also enjoy seeing what your kids make and share with us. My daughters have helped me craft since they were young. It’s so much fun.
Oh Julie, I could never pick a favorite project from you, I’m amazed every single time I watch your videos, this box is awesome, big enough for all kinds of goodies, whether is candy, cookies, jewelry, even tea light candles.
And the colors are just delicious, I love, LOVE Autumn, and the sunflower die cut is the most gorgeous detail.
Thank you so much for sharing.
Stay healthy and safe.
XO
Maria Rodriguez.
Love the boxes you make Julie. This is easy peasy for sure. I’ll be making a couple of these for a little thank you! Be safe & TYFS
Hello! Love all the lives and everything you share with us thank you! How do I print just the template? Thank you so much!
Great box idea! I love the sunflower with the woodgrain DSP!
I absolutely LOVE this project.
I have a 3 ring binder dedicated to just YOUR projects. You are sooo talented.
Your posts always make me smile!!!
Super easy to make, thanks to your video.
I appreciate all your posts. I look forward to each to catch the next one.
Thank you
Julie this is just the cutest and to fit sunflower seeds. Genius. Love the box.
Another fabulous project.
Everything you make is awesome! But this is beautiful!