
Today’s project is a highly requested gift box for a Bath & Body Works 3-Wick Candle!

This might be the biggest box I’ve created a tutorial for! Here’s another look:

Here’s a closer look at the top and the adorable gift tag:

And here’s how the box looks empty:

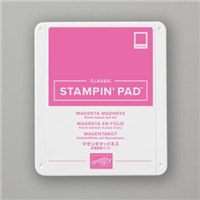
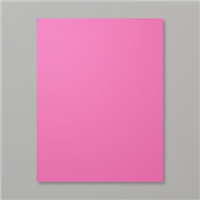
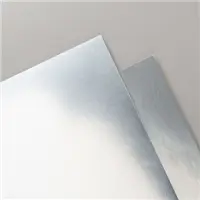
My color inspiration came from the candle label! I love the non-traditional pop of color for the holidays that Magenta Madness brings! Pair that with Silver Foil and it’s LOVE!
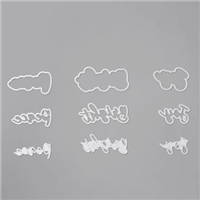
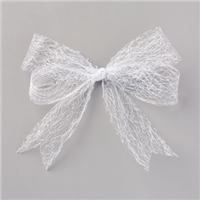
I had a lot of fun designing a tag using the Peace & Joy Bundle! And how about the beautiful Metallic Mesh Ribbon??!?
Without further ado, here’s my video tutorial:

Here is the template for the box base for reference (not to scale):

Here’s the template for the box lid for reference (not to scale):

Thank you so much for stopping by today! I hope you have a wonderful & blessed weekend!
PROJECT MEASUREMENTS:
- Finished Dimensions – 3-5/8″H x 4-1/8″W x 4-1/8″D
- Magenta Madness Box Base (cut 2 pieces) – 8-3/4″ x 8-1/2″
- Score along the 8-3/4″ side at 4-1/8″ and 8-1/4″
- Rotate clockwise and score along the 8-1/2″ side at 4-1/8″ and 7-3/4″
- Magenta Madness Box Lid – 8-3/16″ x 8-3/16″
- Score on all sides at 1″ and 2″
- Silver Foil Layer – 4″ x 4″
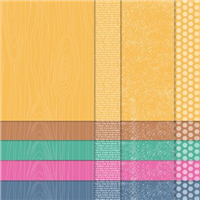
- 2020-2022 6″x6″ DSP Layer – 3-3/4″ x 3-3/4″
- Magenta Madness Tag Layer – 2″ x 3″
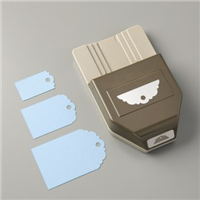
PROJECT SUPPLY LIST:




Thank you. You are amazing and I appreciate everything you share. I have made many of your projects. I wish you and your family a happy blessed Thanksgiving. I know I’ll be difficult without your mother. Thank you again.
I have throughly enjoyed so many of your creations. Your a wonderful teacher, such a gift and you share it so well. Thank you so much and I put in my first order using your code, I hope I did it right. Merry Christmas and may God bless your channel.
So You know I’m making this since I asked for it? MY question is since I’ll be doing it SU Cardstock, what are the DSP sizes I would need for the outside box & Lid ?? I’m using Cherry Cobbler since I have “Tis the Season” Frosted Cranberry candle!!!
Thanks again for this box!!!
Tilly it depends on how you want your cardstock to look..measure 1/8 inch less than the box dimensions after measuring…or 1/2 inch less than the box measurment from top to bottom and side to side. I prefer less box showing so 3 1/2 x 4…you need 4 of these! Measure the lid to figure out the rest….
Julie,
Love the box. Can’t wait to try it.
Oh, BEAUITFUL, Julie you put so much love into your projects, that’s so BEAUITFUL, thanks for sharing,
Hugs Frenchie, ♥️
Hi Julie I’m so sorry that I got to tour live tutorial so late I just saw when you were putting together the lid box lol. I love the color and your tutorial. Have a bless weekend.
Lia.