
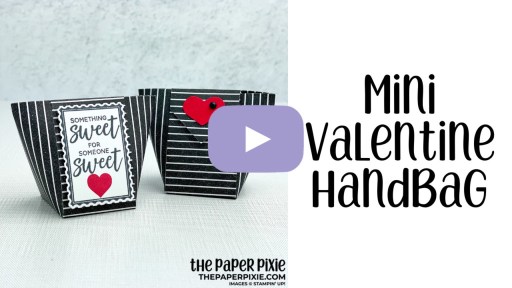
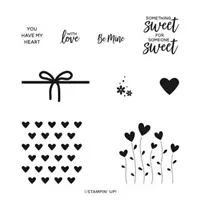
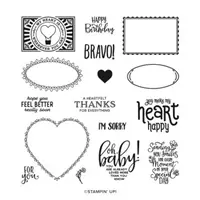
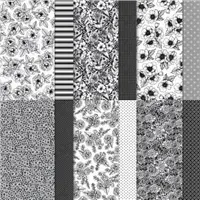
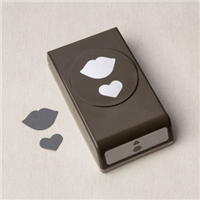
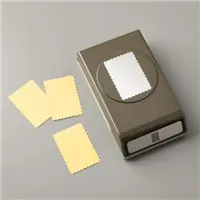
Today’s project is a remix of a mini handbag I shared back in 2017! This Mini Valentine Handbag features the Valentine Keepsakes and Punch Party stamp sets paired with the True Love Designer Series Paper!

CLICK HERE to see my original mini handbag project & tutorial, which was created with the Envelope Punch Board. Now that we no longer sell it, I was determined to remake this adorable mini handbag without it! This version I opted not to include handles, but they would be easy to add! Here’s another view of the pair:

How cute does this little handbag look from the side?!?!! Here’s a closer look at the sentiment side:

And here’s a closer look at the flap side:

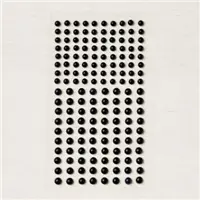
I used a Velcro closure (check out my Favorites page for the Velcro dots I used):

And here’s what the inside looks like:

I just love this project and I’m thrilled to have figured it out without the Envelope Punch Board! Without further ado, here’s my video tutorial:
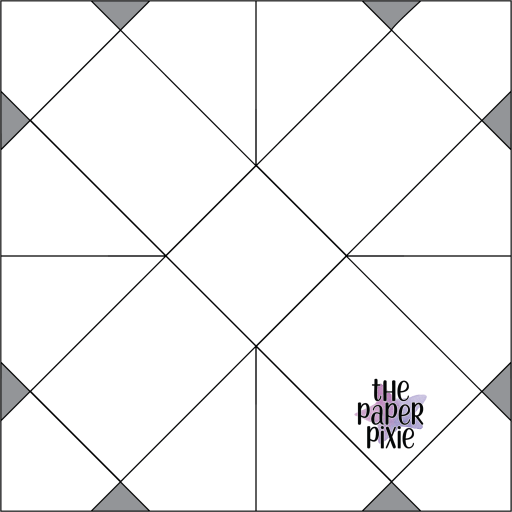
And here’s the template for reference (not to scale):
Thank you so much for stopping by today! Have a wonderful & blessed day!
PROJECT MEASUREMENTS:
- True Love Designer Series Paper – 6″ x 6″
- Line up corner to corner on the 6″ score line and score at 3″, 5-1/4″, 6-3/4″, and 9″; Turn a quarter of a turn and repeat!
PROJECT SUPPLY LIST:





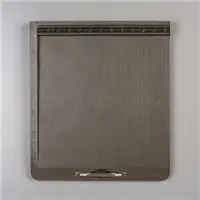
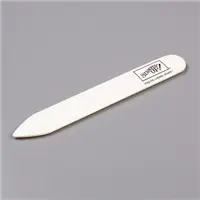

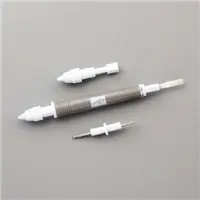



Is there a tutorial for doing this with the punch board? I love this handbag but would like to use my punch board. You are very creative and I love your style! Thank you!
Hi Brenda! Yes, my original Envelope Punch Board tutorial was linked in the blog post . Here’s the link: https://thepaperpixie.com/2017/08/envelope-punch-board-mini-handbag.html
Hi Julie – would you be willing to share what software you use to create your graphic for cutting/scoring? I admire your work greatly! Thank you!
Hi Carol! I use Adobe Illustrator. ❤️
I left you a comment about paper bows made from strips of paper. You posted a demo of this close to the Christmas season of 2019. It don’t think it would have been before that because I don’t have that good a memory. I made them to put on all my Christmas gifts that year.
You did a demo at the end of a regular presentation…stating that it was only for those watching and it would not be included on your Friday posts on social media.
You twisted the paper bringing both ends back to the center and just kept adding. The longer strips first, then graduated down to shorter strips for subsequent rows.
I, unfortunately did keep one for myself.
Did it come to you now? Hopefully!
.
Hi Sandy! I remember now! Sorry, I’ve done so many tutorials it’s hard to keep track! I did a video 9 years ago for paper bows similar to how I shared it at the end of the more recent live: https://youtu.be/F4juk7XGMD8
Sweet little bag! Isn’t the dsp 12×12 instead of 6×6?
Hi Ellen! It comes in 12×12, but to create this mini handbag you only need a 6×6 piece. The measurements might be throwing you off, but that’s because we are scoring with the paper on the diagonal. The video tutorial explains it better