
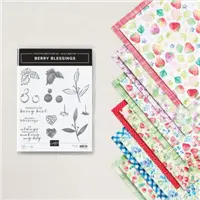
Today’s project features the Berry Blessings Bundle! This Stamp Set and Designer Series Paper Bundle is really fun to work with!

I went with a quick & easy layout – perfect for making multiples! You simply cut a rectangular panel of Designer Series Paper down to the same size as your Basic White panel. Then you cut it diagonally from corner to corner and you instantly have 2 panels! I created the following 4 cards cutting my diagonals differently and love how they turned out!

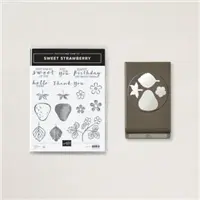
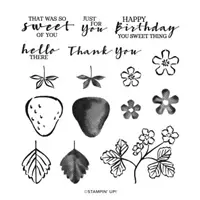
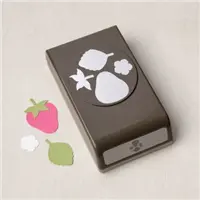
I paired the Berry Blessings Bundle with the Sweet Strawberry Bundle – a match made in heaven! The strawberries were punched out of the strawberry seed pattern in the Berry Blessings Designer Series Paper. One strawberry is glued to the card front and the other is popped up on Dimensionals! A Basic Rhinestone Jewel is the finishing touch.
Thank you so much for stopping by today! I hope you have a wonderful & blessed day!
PROJECT MEASUREMENTS:
- Garden Green card base – 4-1/4″ x 11″, scored and folded in half at 5-1/2″
- Poppy Parade layer – 3-3/4″ x 5″
- Berry Blessings DSP layer – 3-5/8″ x 4-7/8″, cut on the diagonal
- Basic White card front layer – 3-5/8″ x 4-7/8″
- Basic White inside layer – 4″ x 5-1/4″
PROJECT SUPPLY LIST:









LOVE all your designs and ideas.
Especially love your new format for printing out all your project details.
You are such an inspiration.
I distinctly remember having the pleasure of meeting you and Brian in Orlando during SU’s 30th celebration.
I still have that pic in my phone.
Love yoy Julie!!!
Thank you so much, Janice! I am honored to inspire you! Love you right back!
I really like this card in it’s simplicity. Thanks for sharing!
Thank you so much, Lynn! I love a quick, easy, and cute card!
Hi Julie,
Oh I am so happy you have been tutoring us with cards. Yes! Immediate gratification. I have been able to make a card along with you and be done with project in an hour. My house thanks you too, it is finally cleaned weekly. I get so involved with my crafts I neglect the things I don’t want to do. I love your 3D boxes also but I like them to the point of nothing else gets done. With cards, I have time to bead, and clean.
My budget doesn’t care for my new attraction though. It is only February and I’ll bet I already have more than ten stars! Actually probably more than twenty stars. And I was wondering if you know if it is possible to sharpen the blades on the trimmers? Can it be as easy as sharpening scissors on tin foil? My trimmer makes the edges of the paper look torn and raggedy. Which is a cool look, but not for all projects. Do I have to buy a new trimmer or am I blind? I don’t see blades in the catalogue. My guillitine cutter is from the dark ages, and soooo heavy to get down from the shelf. But that can be sharpened with tin foil.
I’m sure everyone will agree you are the best teacher, well at least with paper for sure. I feel like we’re sitting at the table crafting and drinking and chatting away. Like a quilting bee with paper. Thank you. Yes, I consider you a blessing in my life.
Hi Nancylee! So happy to hear you are enjoying the live card tutorials! The replacement blades for the Paper Trimmer can be found on page 151 of the Annual Catalog. Honored to inspire you and happy to hear about the joy cardmaking is bringing to your life!