
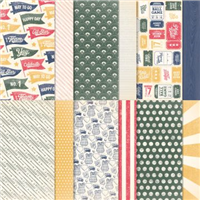
Today’s project is a Hey Sports Fan Diagonal DSP Card featuring the Hey Sports Fan product suite and using a diagonal patterned paper layout to showcase both sides of our amazing Designer Series Paper!

I want to give inspiration credit to fellow demonstrator Debbie Henderson – I love finding fun ways to showcase both sides of our patterned papers! Using 2 or more pieces of Designer Series Paper, you can create multiples of this card and each one will be a little different depending on how you layer the diagonal pieces!
Want to see me create this card from start to finish? Check out my live video tutorial HERE. This link will take you directly to the card-making part of my livestream replay.
Here’s another look at the card:

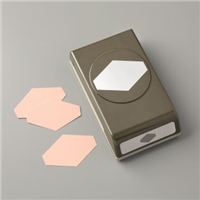
The sentiment is punched out with the Tailored Tag Punch! This punch is so versatile! Not only does it create a tag (as pictured on the card), but it can be used to punch banner ends on a strip of paper AND it can create a perfect gift card slot for the inside of your cards! Turn any card into a gift card holder with the Tailored Tag Punch!
Here’s the cutting layout for the Designer Series Paper:

QUICK TIP: Cut both 4″ x 5-1/4″ pieces of Designer Series Paper at the same time to maximize your time! Stack the pieces together with like patterns touching. In other words, flip one of the pieces before cutting so that you’ll end up with your diagonal pieces cut in a way that you can alternate for 2 card fronts!
Thank you so much for stopping by today! I hope you have a wonderful and blessed day!
PROJECT MEASUREMENTS:
- Poppy Parade card base – 4-1/4″ x 11″, scored and folded in half at 5-1/2″
- Night of Navy layer – 4″ x 5-1/4″
- Hey Sports Fan Designer Series Paper – 3-3/4″ x 5″ (2 pcs – portrait)
- Very Vanilla layer (inside) – 4″ x 5-1/4″
PROJECT SUPPLIES:
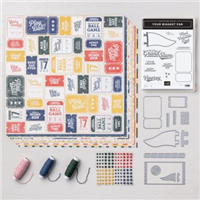
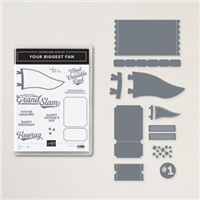

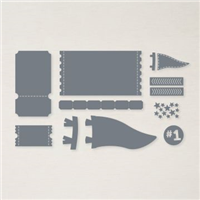
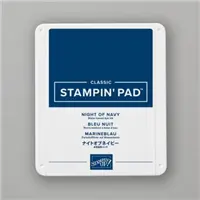



A really great “male” card and your usual clear, concise presentation. I am so thankful that I signed up under you.
You make me feel like I’m the only one watching and that I’m getting a personal, private lesson. So glad you will be
doing this fulltime. I’m looking forward to more awesome tutorials.
Hugs,
Gail
Thank you Julie. Excited about your new journey. So happy for you!!! Blessings for a successful journey.