
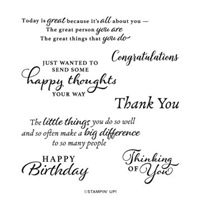
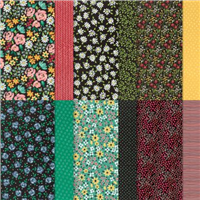
Today’s project is a treat holder featuring the Back to Back Blooms and Happy Thoughts stamp sets paired with the Flower & Field Designer Series Paper.

Here’s a different view:

While it’s a tight fit, a 2-pack of Biscoff cookies fit! The inside dimensions are 1/2″ by 3″ and can easily be adjusted for different things! This would also fit Ghirardelli Squares and perhaps tea bags!

Here’s how the Biscoff cookies fit inside:

Here’s how the treat holder opens:

And here’s how the treat holder and yesterday’s card coordinate together:

Such a lovely pair! Without further ado, here’s my video tutorial:

Here’s the template for reference (not to scale):

Thank you so much for stopping by today! I hope you have a wonderful & blessed weekend and a Happy Valentine’s Day!
PROJECT MEASUREMENTS:
- Finished Dimensions – 2-3/4″H x 3″W x 1/2″D
- Flower & Field Designer Series Paper – 6″ x 6″
- Score along opposite sides at 1-1/2″
- Score along the other opposite sides at 2-3/4″
PROJECT SUPPLY LIST:




TFS!! U ROCK!!
Hi, Julie!
Have a question – what do you use to hold the little spoon in the lid of your embossing powder container?
Hi Nancy! I use 3M Command Outdoor Light Hooks, which you can find linked on my Favorites Page here: https://thepaperpixie.com/favorites#Craft-Tools
I just love visiting your blog, Julie! You share SO many lovely projects and great ideas!
Thank you so much, Dawn!
Thank you for the directions and video for this cute box! Even my husband loved it.
Thank you, Karen! Husband-approved!