
Today’s project is a Prism Box featuring the Bloom Where You’re Planted Product Suite!

Here’s a side view:

Here’s a top view:

And here’s how the box opens:

I’ve shared a similar project before with different dimensions HERE, which was inspired by former demonstrator Amanda Charlesworth!
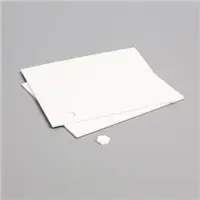
I absolutely LOVE the Bloom Where You’re Planted Suite and had so much fun playing with it to design this box! This box has a magnetic closure using my favorite magnets from Total Element! Use coupon code PAPERPIXIE and receive 10% off!
Without further ado, here’s my video tutorial:

And here’s the template for reference (not to scale):

Thank you so much for stopping by today! I hope you have a wonderful & blessed 4th of July!
PROJECT MEASUREMENTS:
- Just Jade cardstock – 8-1/4″ x 11″
- Score along the 8-1/4″ side at 2-5/8″ from both sides
- Score along the 11″ side at 3″, 6″, and 9″
- Make tick marks along the 11″ side at 4-1/2″, flip and repeat
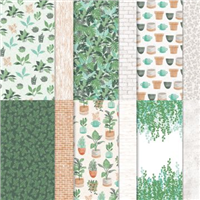
- Bloom Where You’re Planted DSP:
- 2-3/4″ x 2-3/4″ (2 pcs)
- 2-3/4″ x 2-3/8″ (2 pcs – landscape)
- 2-3/4″ x 1-3/4″ (1 pcs – landscape)
- Basic White strip – 3/4″ x 2-3/4″
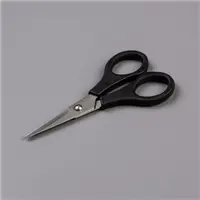
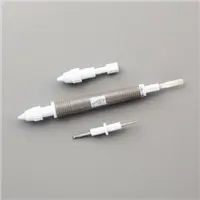
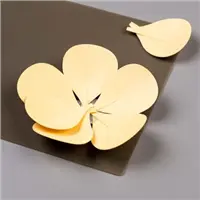
PROJECT SUPPLY LIST:
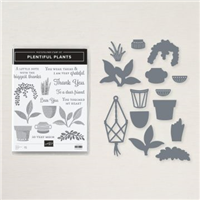
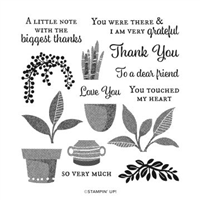
Sale: $9.78
Price: $11.50


Thanks for sharing this project Julie. LOVE this gift box. It’s beautiful and how it closes with a magnet.
Beautiful box. What size magnets did you use?
Thank you, Kay! I use the 1/32” x 1/4” magnets from Total Element.
Love this design, and the size is “just right,” not too small! What size were the magnets you used? OR, what is the most practical size to buy for our normal card/craft-making projects? I went to Total Elements and am amazed at the variety of sizes they sell, and the prices seem more reasonable than other sources I have tried. Thanks for showing and sharing!
I use the 1/4” x 1/32”. Great size for mini glue dots and great price!
Thank you; that’s great to know!
I love this little box! What a cute design. Thanks for another amazing project!
Such a lovely design and pattern. I will be making these soon.
Thank you so much for my Thank You card and contents for this design here. I truly appreciate your kindness and help. I’ve passed your name on to fellow paper crafters for help and supplies. Best wishes!!!
A cute little box. Thanks for sharing the video and the instructions.
What a great project!! Thanks for sharing !