
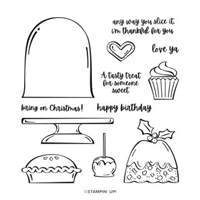
Today’s project is a fold flat gift box sized to fit a Hostess Baby Bundt cake featuring the Sweets & Treats stamp set paired with the Whimsy & Wonder Designer Series Paper!

Here’s another angle:

Here’s a closer look at the top of the box:

Here’s how the box opens:

And here’s how the box folds flat:

This is such a great size gift box for so many other things besides a Baby Bundt cake: soap, candles, neck tie, socks, and many others! Without further ado, here’s my video tutorial:

And here’s the template for reference (not to scale):

I hope you’ll give this fold flat gift box a try! If you do, share it on social media with the hashtag #paperpixie and I’ll check it out! Thank you so much for stopping by today! I hope you have a wonderful & blessed day!
PROJECT MEASUREMENTS:
- Finished Dimensions – 1-1/2″H x 3″W x 3″D
- Polished Pink cardstock – 7-1/2″ x 10-1/2″
- Score along the 7-1/2″ side at 3/4″ and 2-1/4″ from each side
- Score along the 10-1/2″ side at 1-1/2″, 4-1/2″, 6″, and 9″ (or 1-1/2″ and 4-1/2″ from each side)
- Whimsy & Wonder Designer Series Paper:
- 2-3/4″ x 2-3/4″ (1 pc)
- 1-1/4″ x 2-3/4″ (5 pcs – landscape)
PROJECT SUPPLIES:
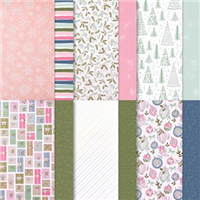
Price: $15.00


Julie, Did you do a larger version of this before? I adjusted the sides and length so it would fit in a business envelope and when a box, would also fit a Gift card and chocolates. Made nearly 100 to go with my holiday letter. Thank you as I can now appreciate all you resizing work!
That’s amazing, Linda! Yes, I created one to fit a 3oz B&BW Body Lotion: https://thepaperpixie.com/2019/08/fold-flat-gift-box-tutorial.html.
Great idea. What are the finished dimensions when assembled?
Hi Beth! The finished dimensions are 1-1/2″H x 3″W x 3″D. Thank you!